
The Issue
Our 2020 Honda HR-V had water in the passenger side rear footwell.
Searching the internet shows that the most probable reason was due to blocked drain tubes, overflowing and allowing water to enter the cabin.
Diagnosing the problem
Firstly I removed the smallest section of plastic trim, allowing access to lift the carpet under to the passenger footwell.
On investigation I could see a small amount of moisture under and behind the wiring loom.
The water only appeared on one side, so to see if this was the cause, the test was as follows:
- Park the car facing up a slope so the front of the car is higher than the rear.
- Open the sunroof.
- On the good side pour a small amount of water (100ml), into the outer channel. (Fig #2 – the dirty channel)
- The water should run to the rear drain and if you look on the ground, under the rear of the car, drips of water should come out from the rear drain tubes.
- Repeat the same test on the blocked side.
- No or very little water will exit the rear of the car.
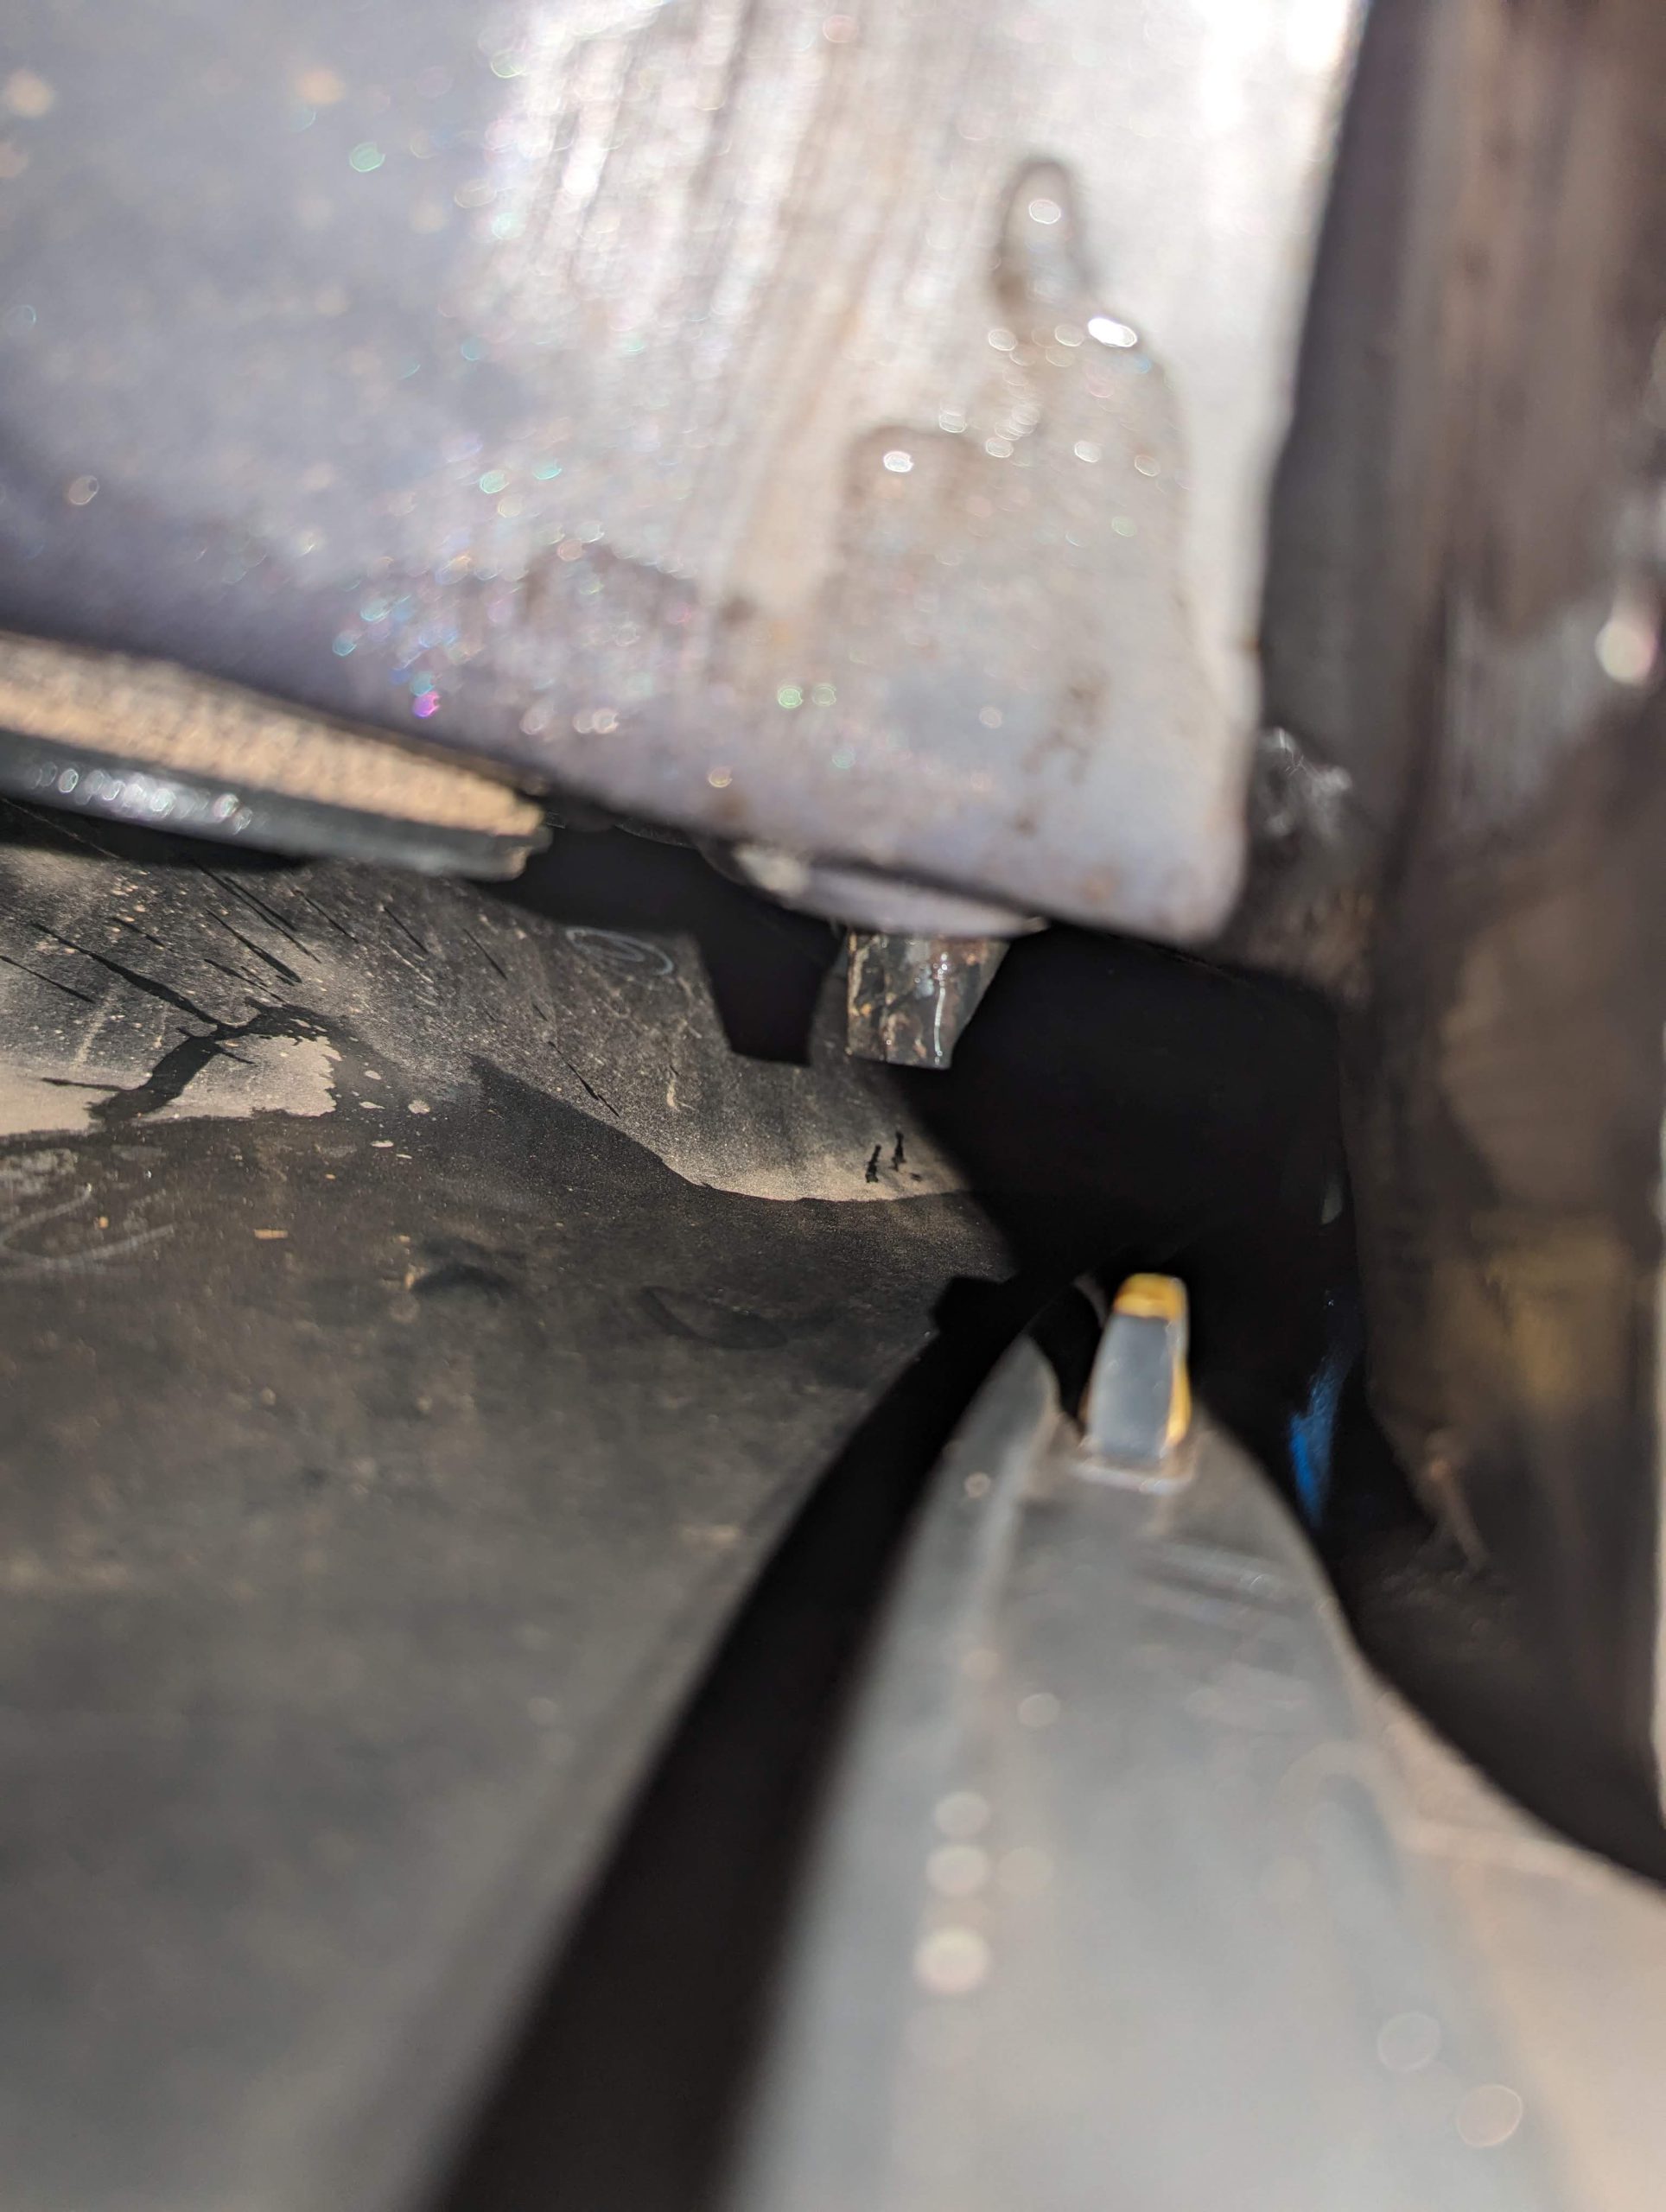
- If you put in too much water you may see drops of water on the door seals up around the top seat belt attachments. This will run down the frame of the car and drip out onto the lower frame and into the passenger footwell (Fig #3)
Fig #2

Fig #3 – water leaking down the inner frame to the footwell.
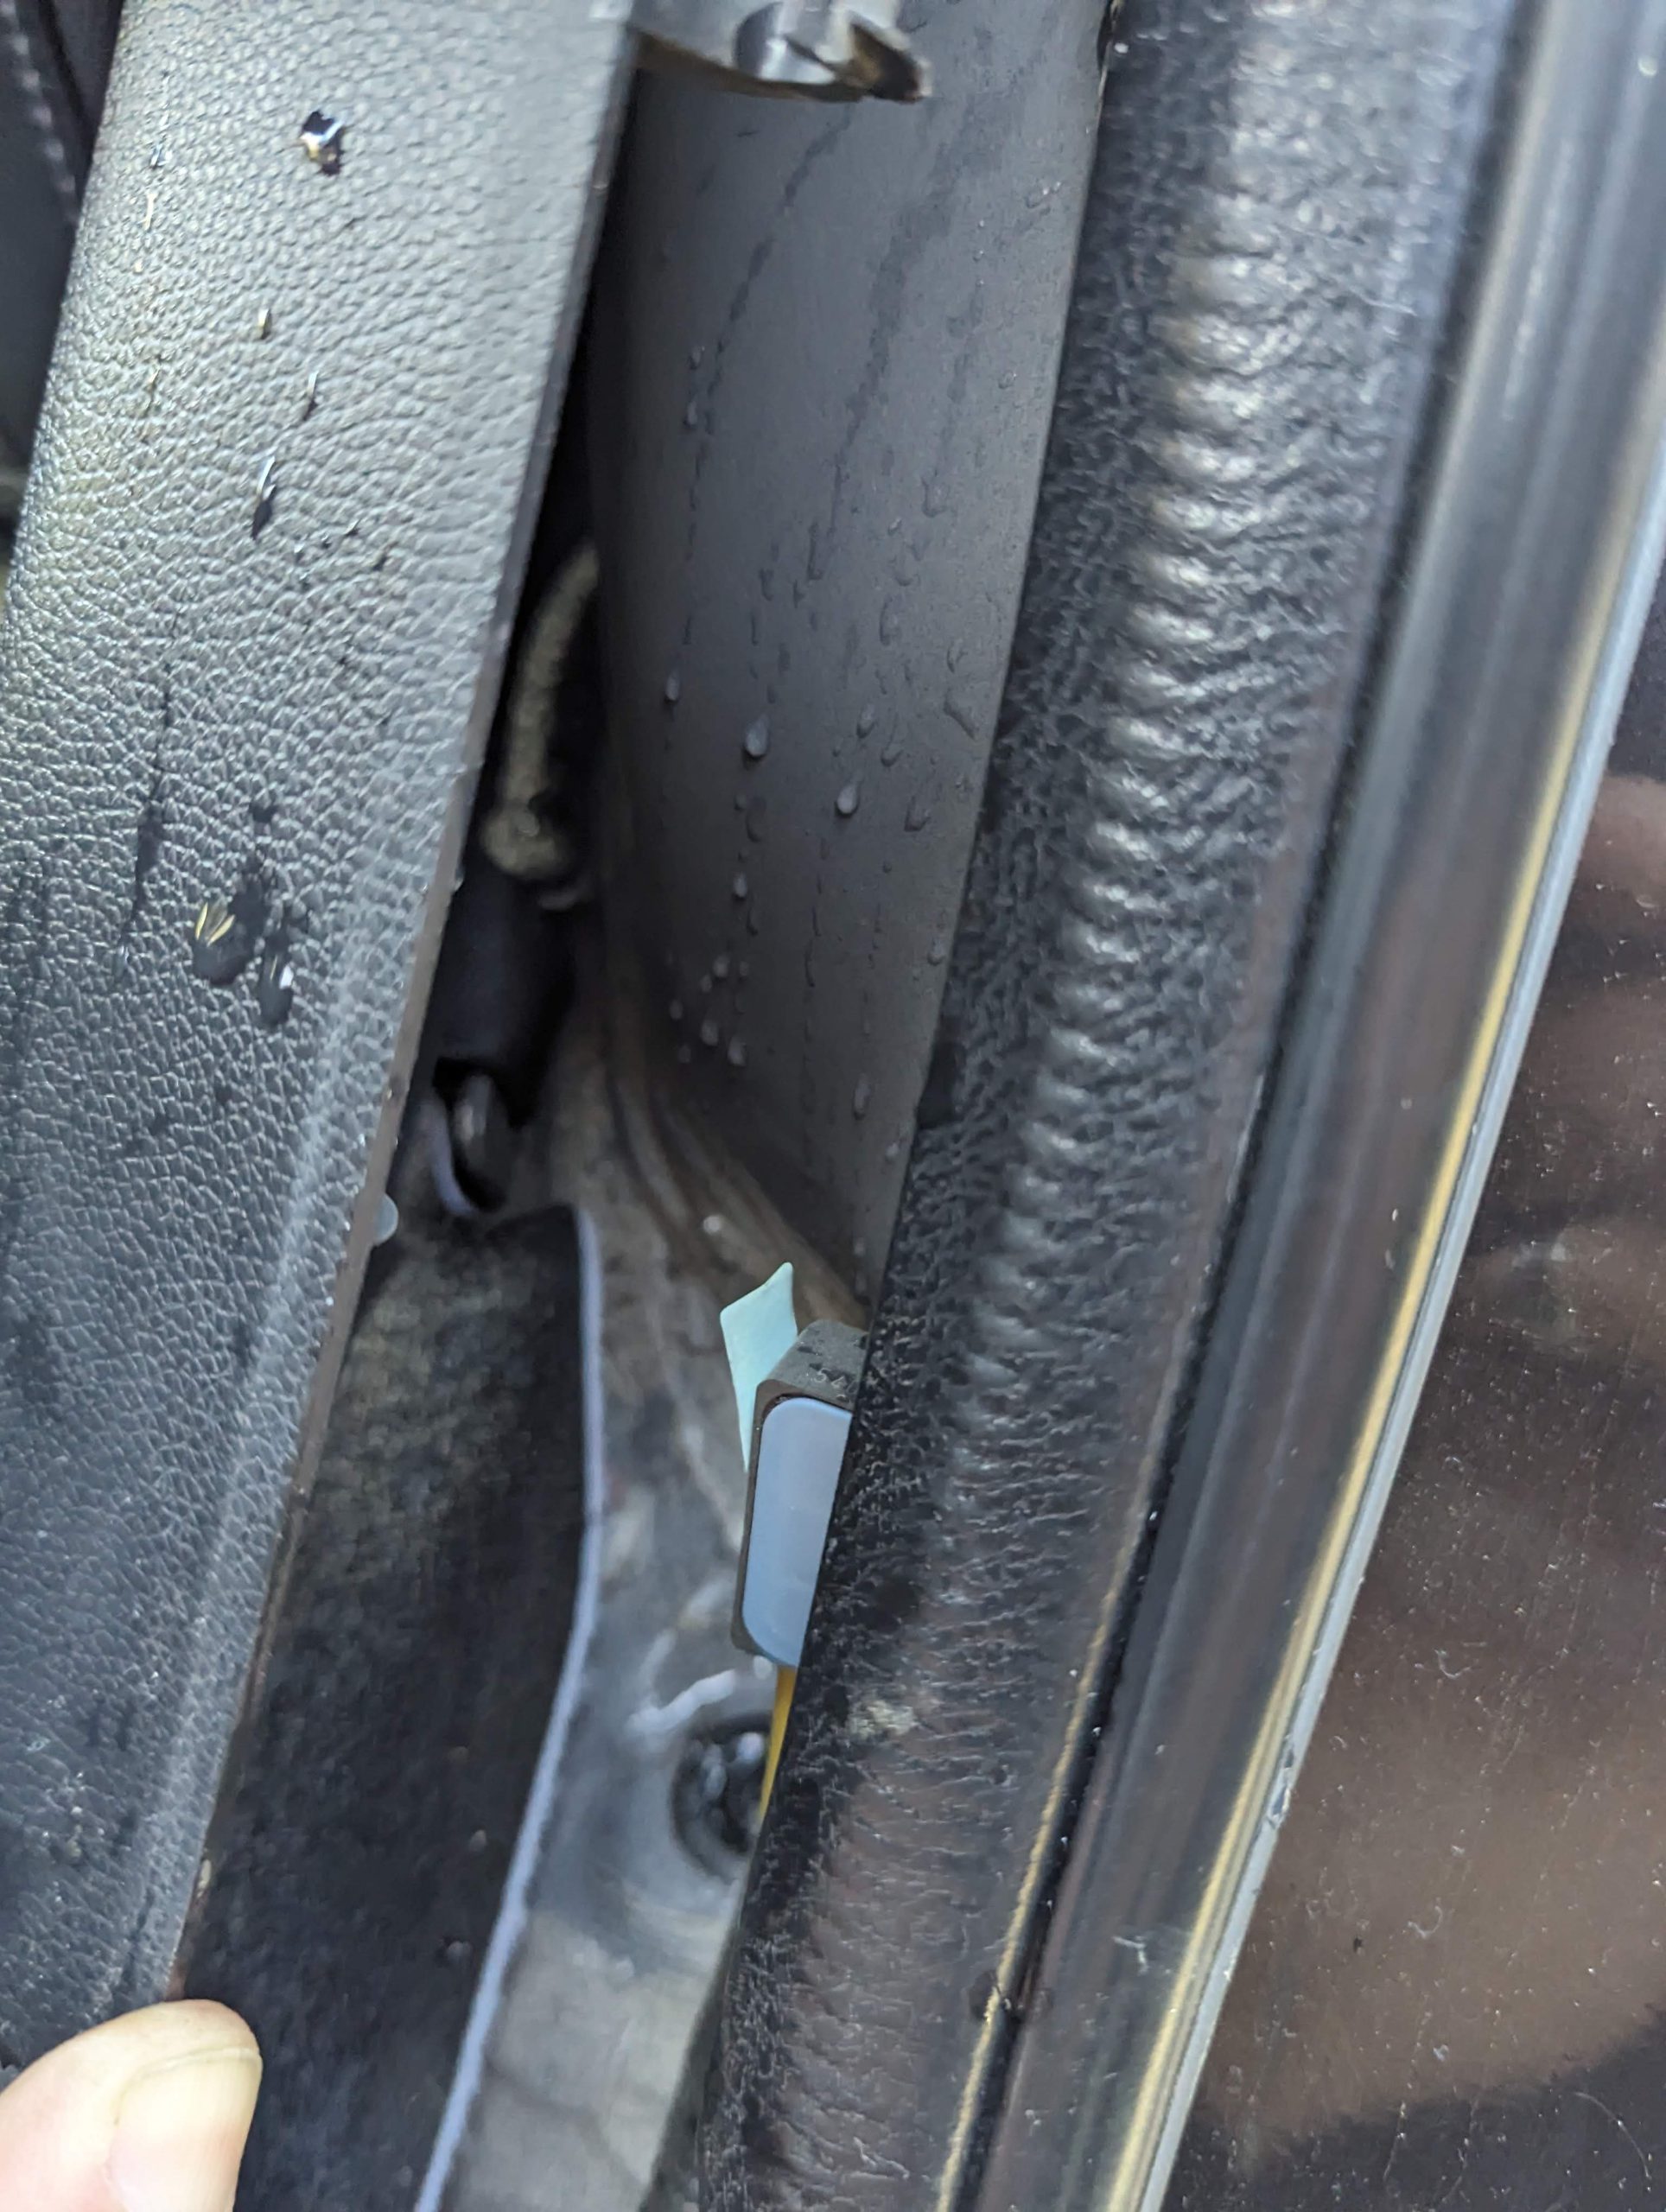
This is what happened, the drivers side, water dripped out of the rear under the car. The passenger side, no water exited and I poured in a bit too much the drain tube filled up and then dripped down into the footwell.
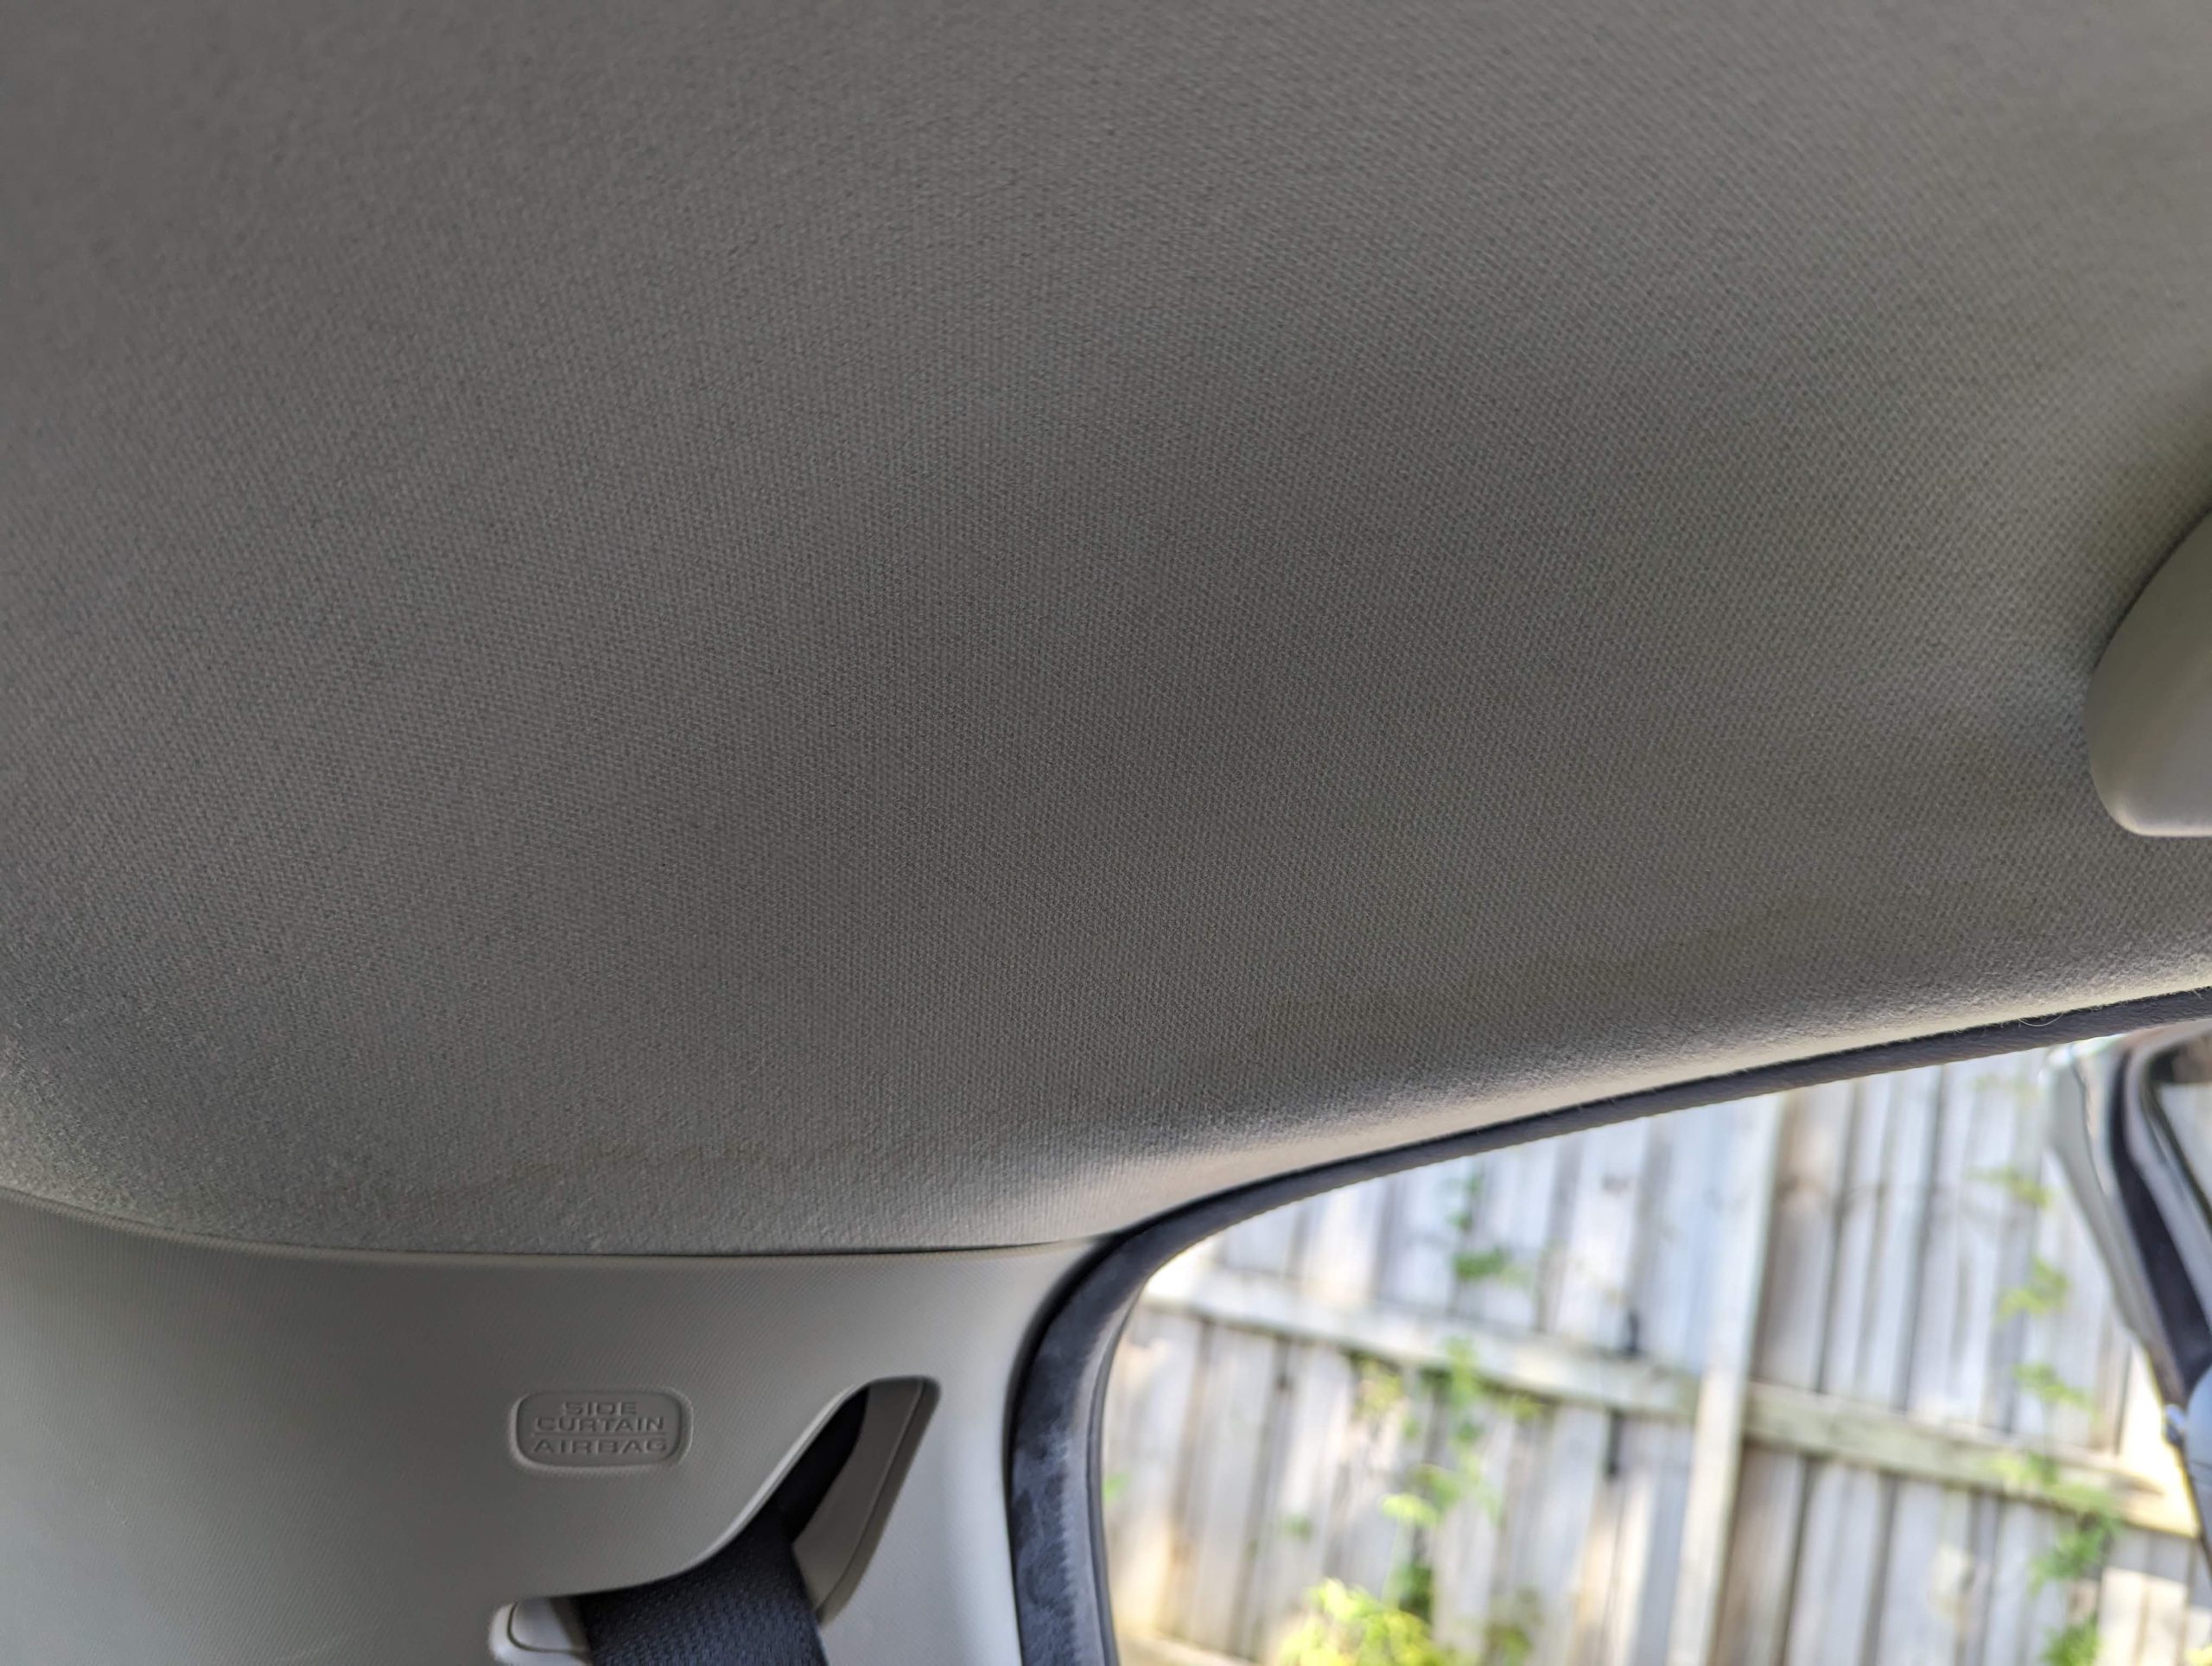
On closer inspection of the roof line you can see that there is actual water damage in the roof liner, where the roof has become slightly discoloured where water has been damaging the roof liner.
Fixing the problem – Top down
So I read that you could clear the blockage by running a wire down the drain tube. But this seemed quite hard given you can’t even see the tube.
I found some thick (2.7mm) wiper snipper line, that was reasonably stiff but flexible enough to turn and twist in the drain.
To try and clear the blockage from the top I did the following:
- Open the sunroof as follows:
1.1 Open the inner sun shade all the way so that it is completely recessed into the roof and out of the way.
1.2 Open the sunroof only a small amount, enough that you can still access the channel to pour water in and test - Get into the back seat of the car and you can now access the rear of the sunroof, from inside
- Using both hands find the outer channel, and feed the wiper snipper line to the rear of the channel.
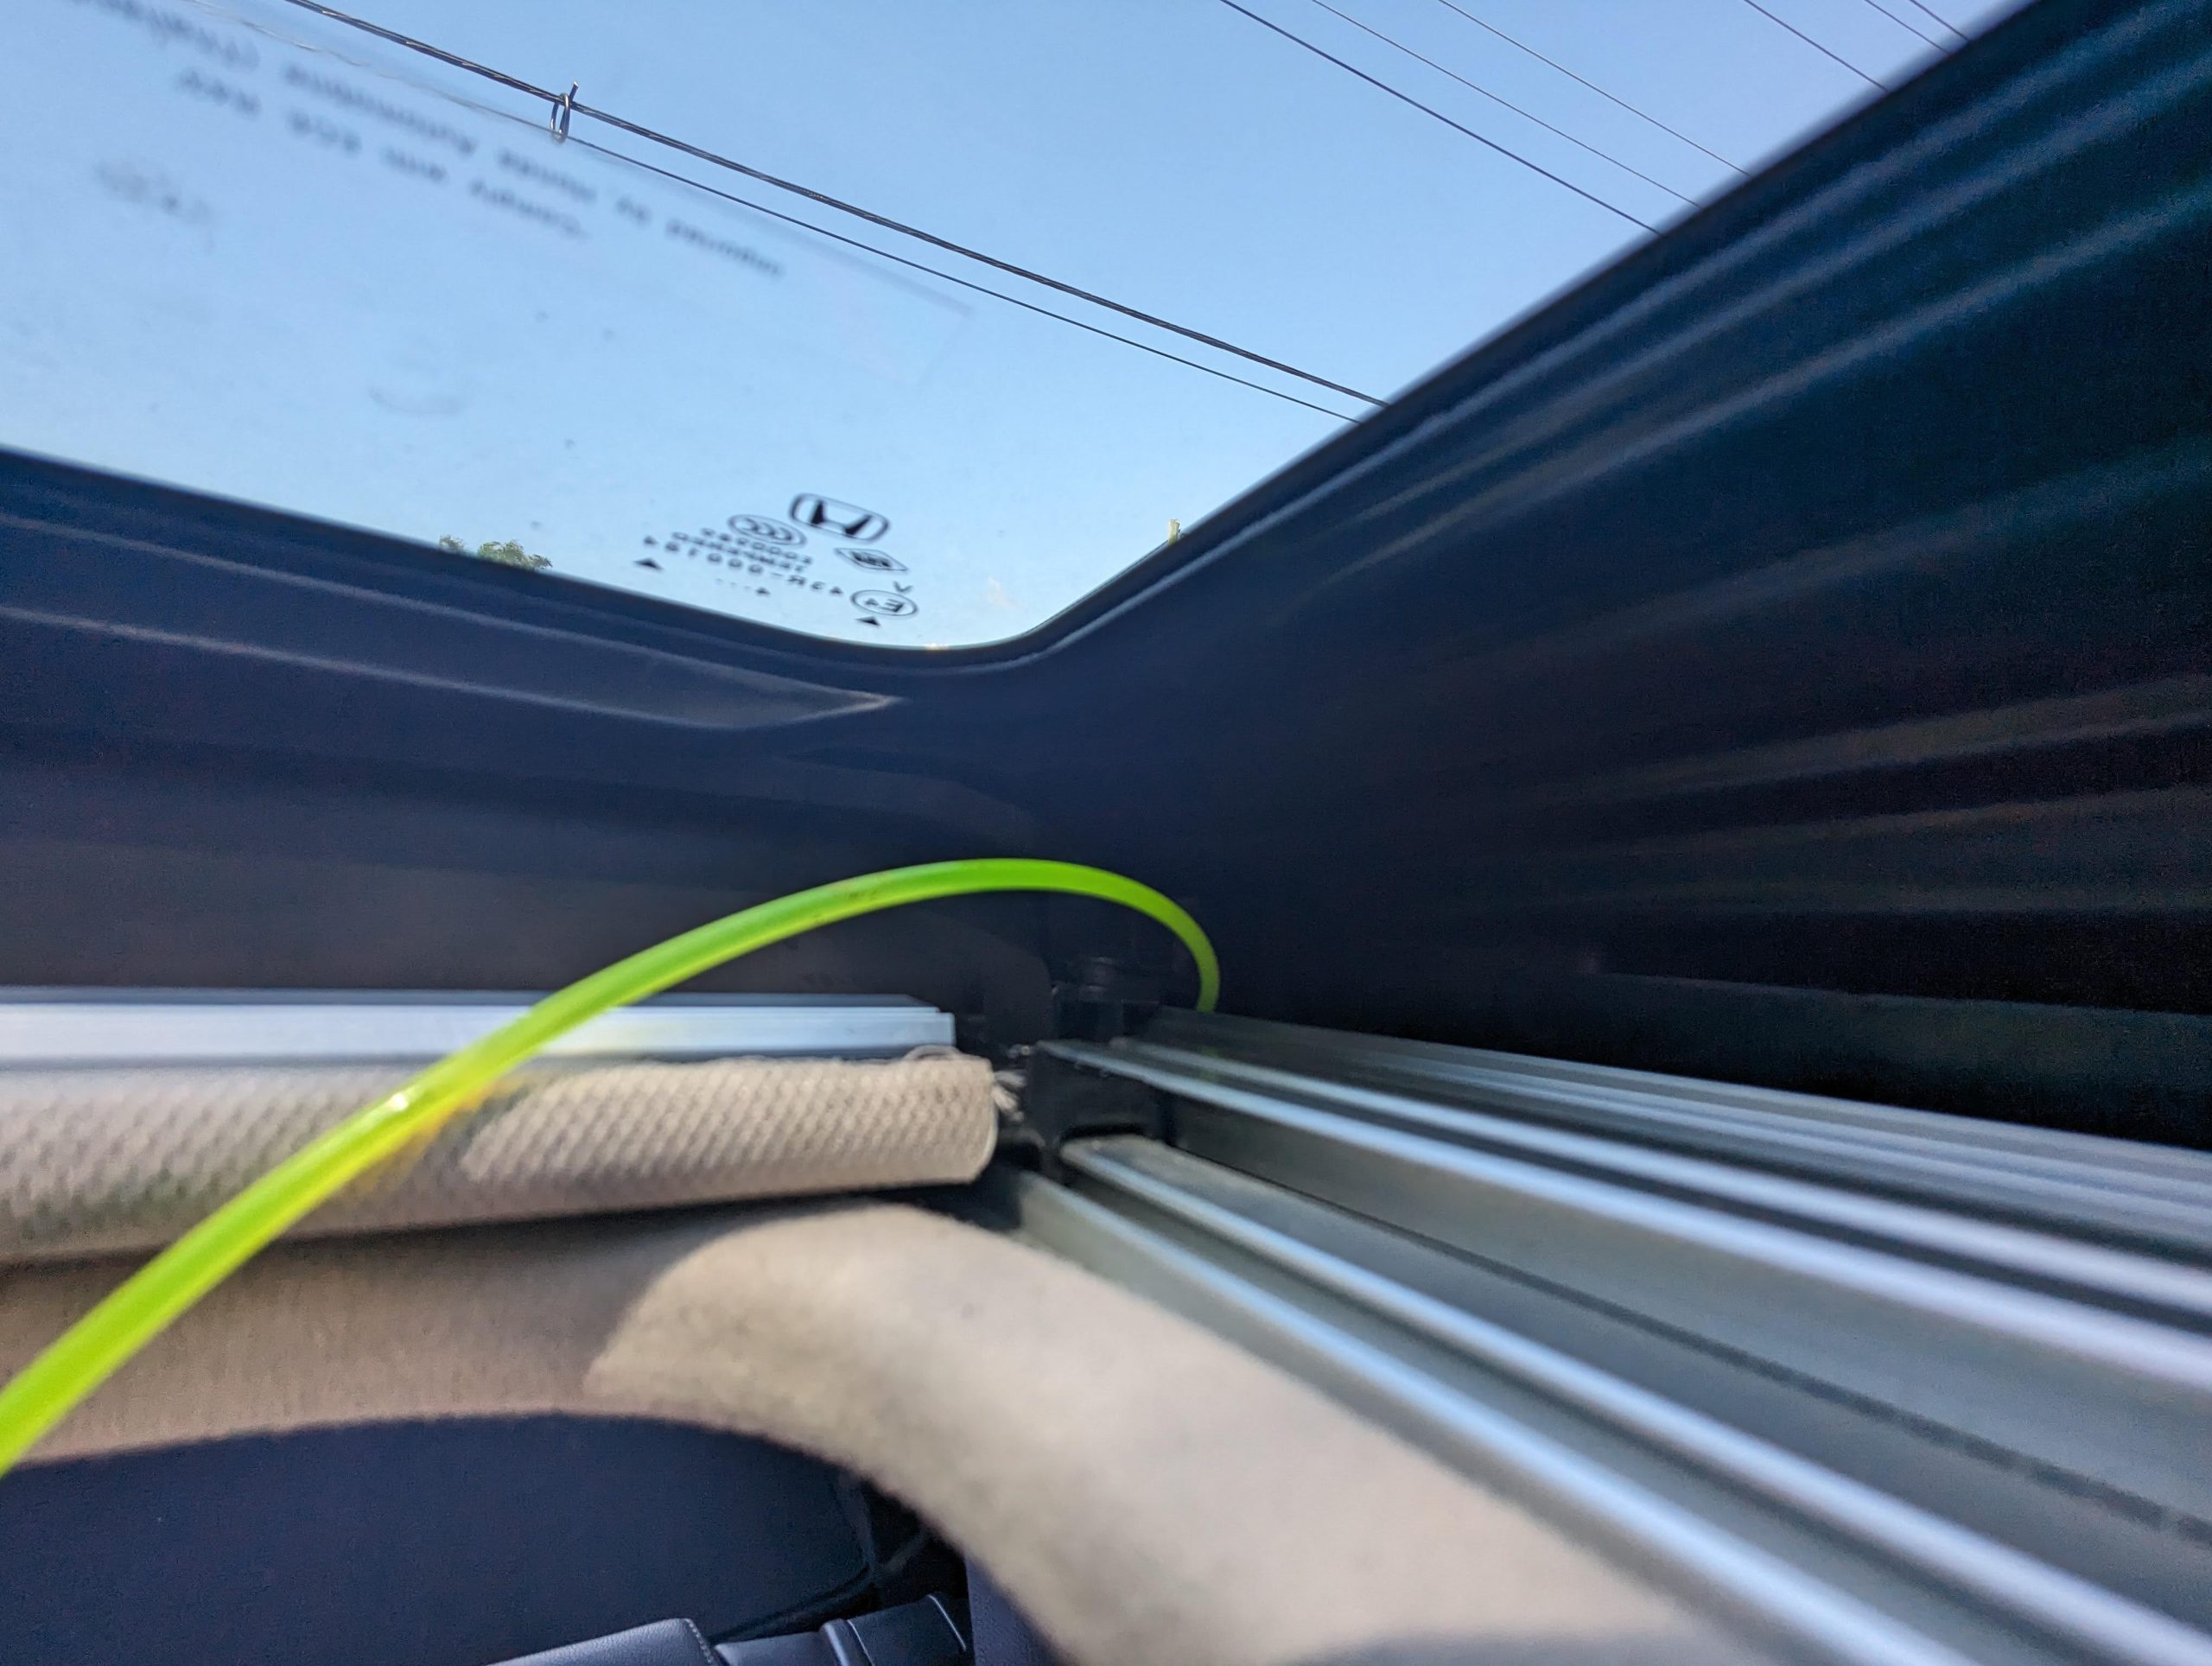
After a few attempts you will be able to successfully feed the line down into the drain pipe.
Feed the line in and every few centimetres move and in and out a centimetre to attempt to push or break up any item that is clogging the pipe.
Test with water again and see if the blockage is cleared.
After a few attempts for me the blockage seemed to be allowing a small amount of water to trickle out, but it was still blocked and water was still in the drain tube.
Fixing the problem – Bottom up
So for me the issue was on the passenger side, which is actually more difficult to fix than drivers side. If your problem is on the drivers side you can fix it really easily.
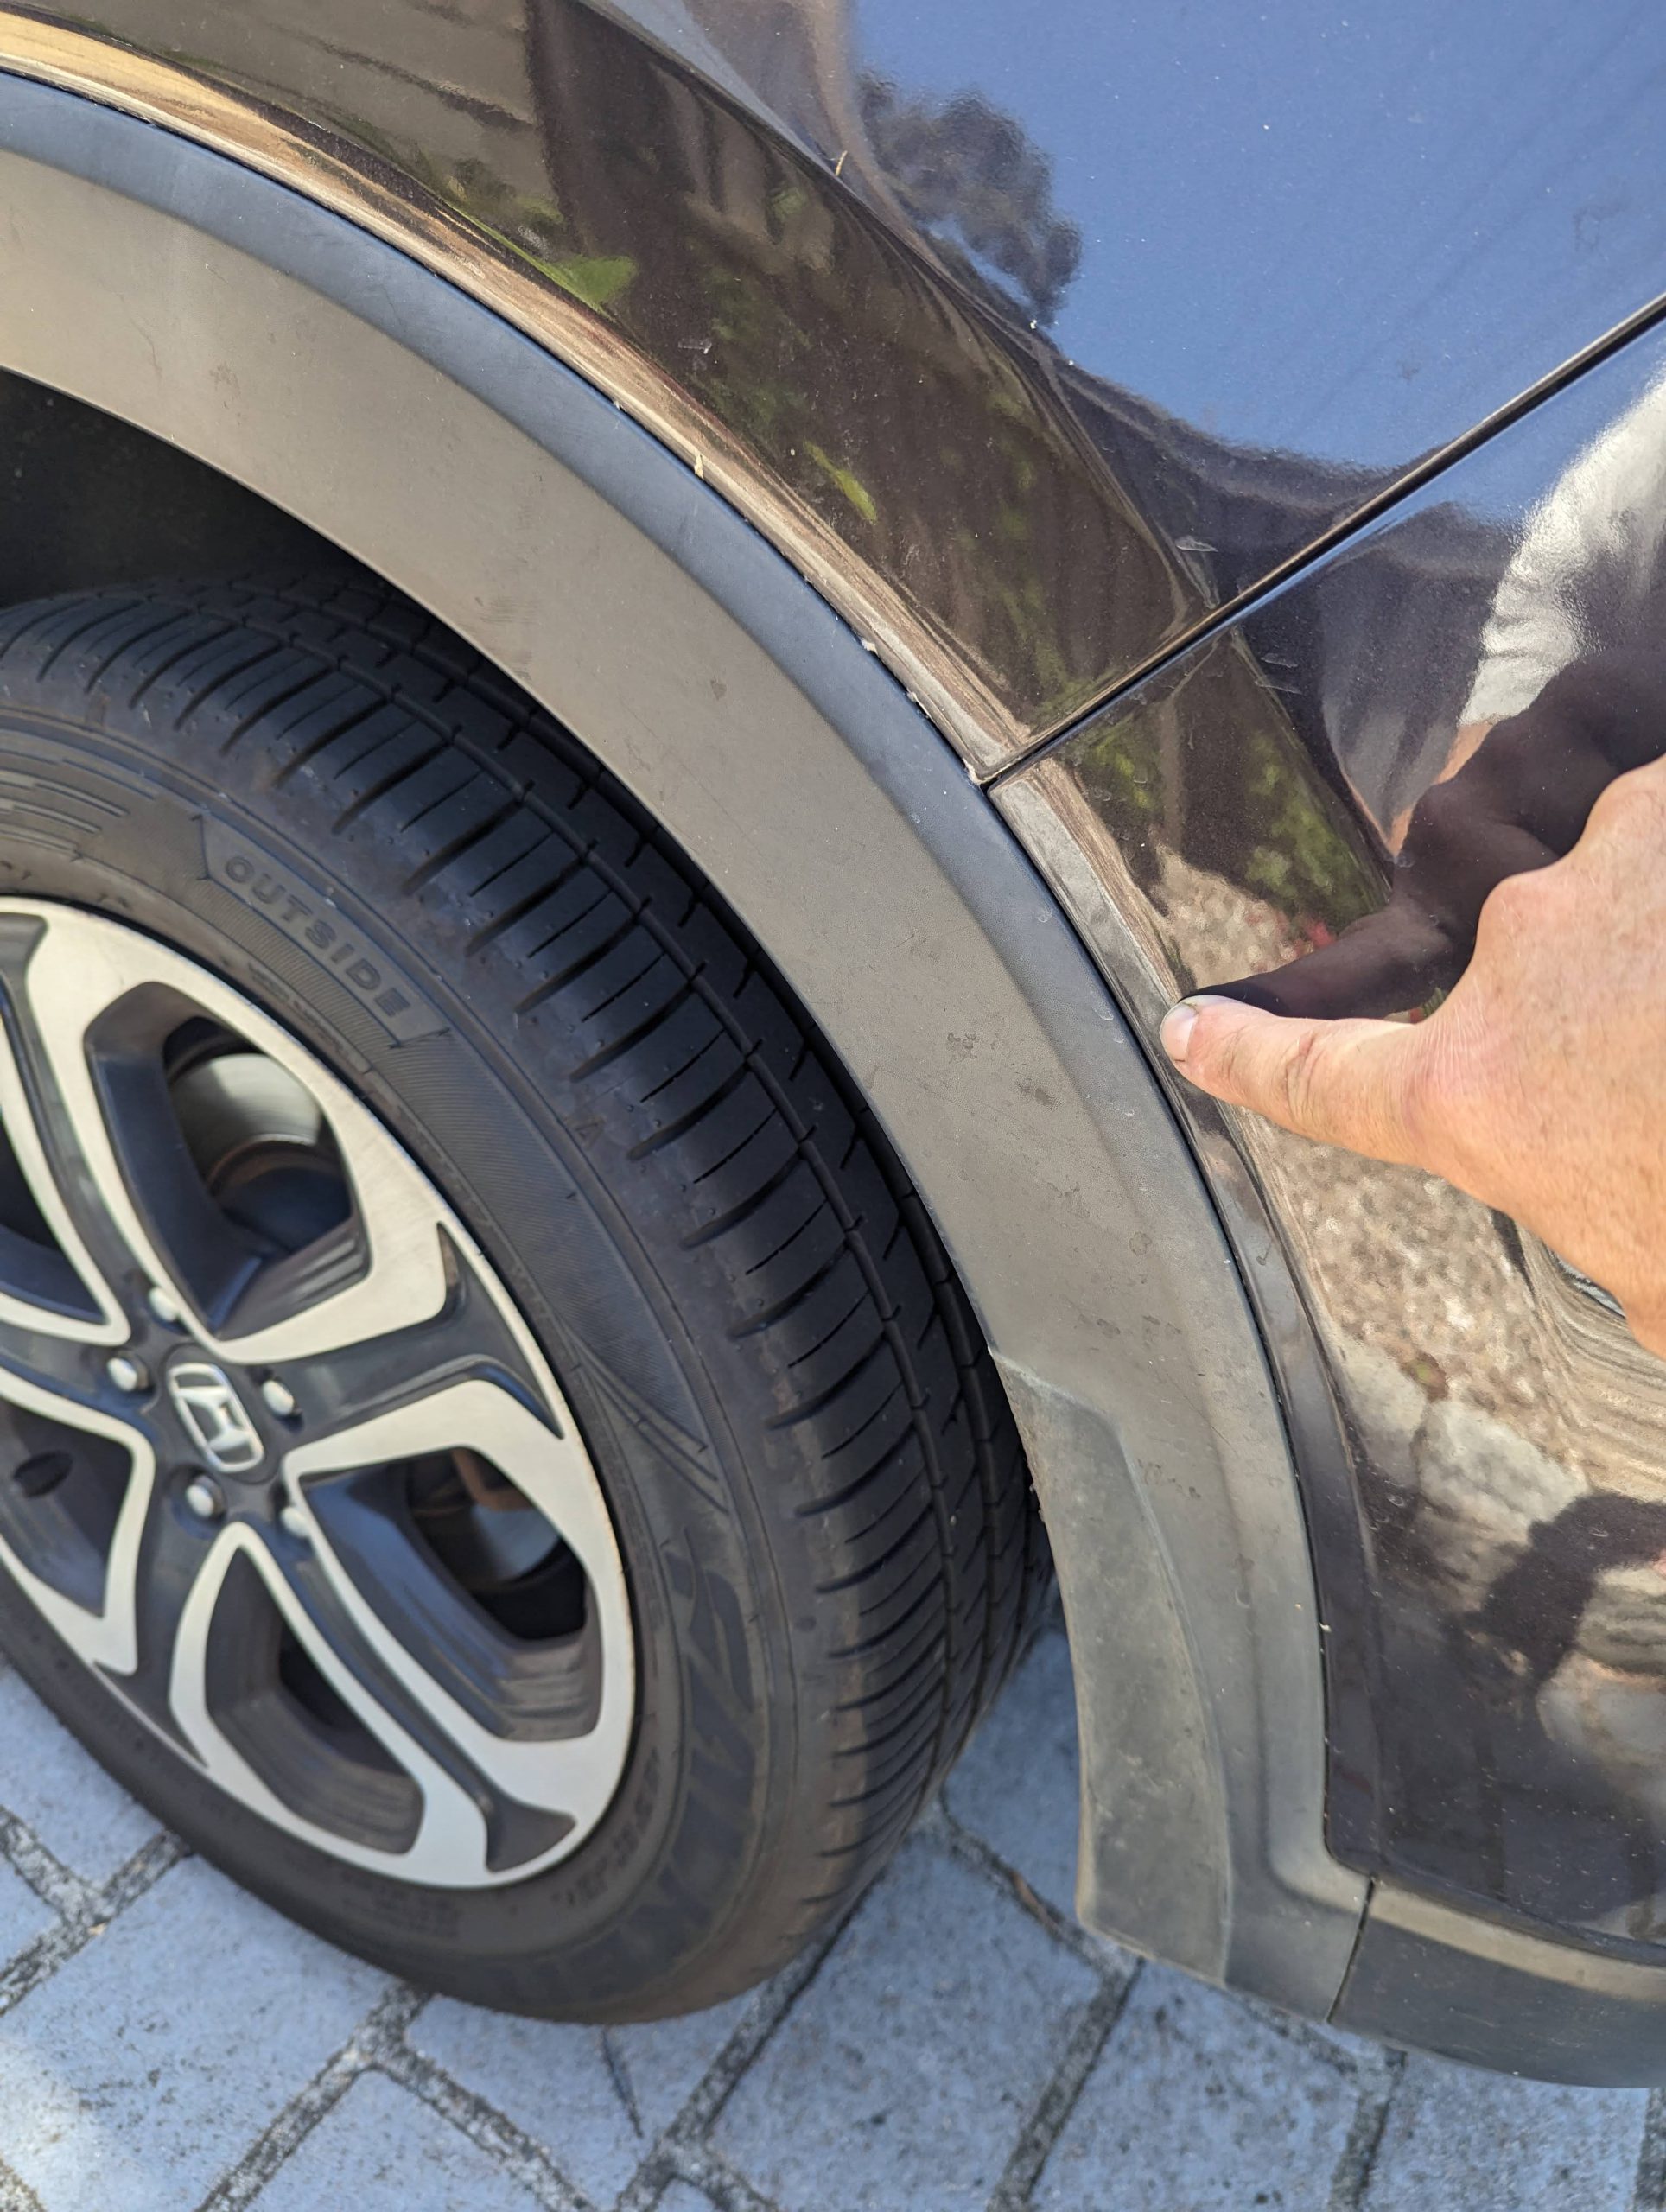
It turns out that the roof drain exits roughly here on the inner skin behind this panel.
If the problem is the drivers side, (the side with the exhaust pipe) do the following:
- Ensure the muffler is not HOT, otherwise you will burn your arm.
- Pour water in the top of the sunroof like in the test.
- Get under the car and reach your arm up past the muffler and into a recess between the outer panel and inner frame of the car.
- you should feel where the water is dripping from and you should find and feel a rubber grommet where the water is exiting from the rear drain pipe.
- Use your finger to flick and squish the end of the rubber grommet and it should help dislodge and clear any large objects that are blocking the exit.
The process is the same on the passenger side but gaining access to be able to touch the rubber drain exit is a bit more difficult as first you have to remove the undertray.
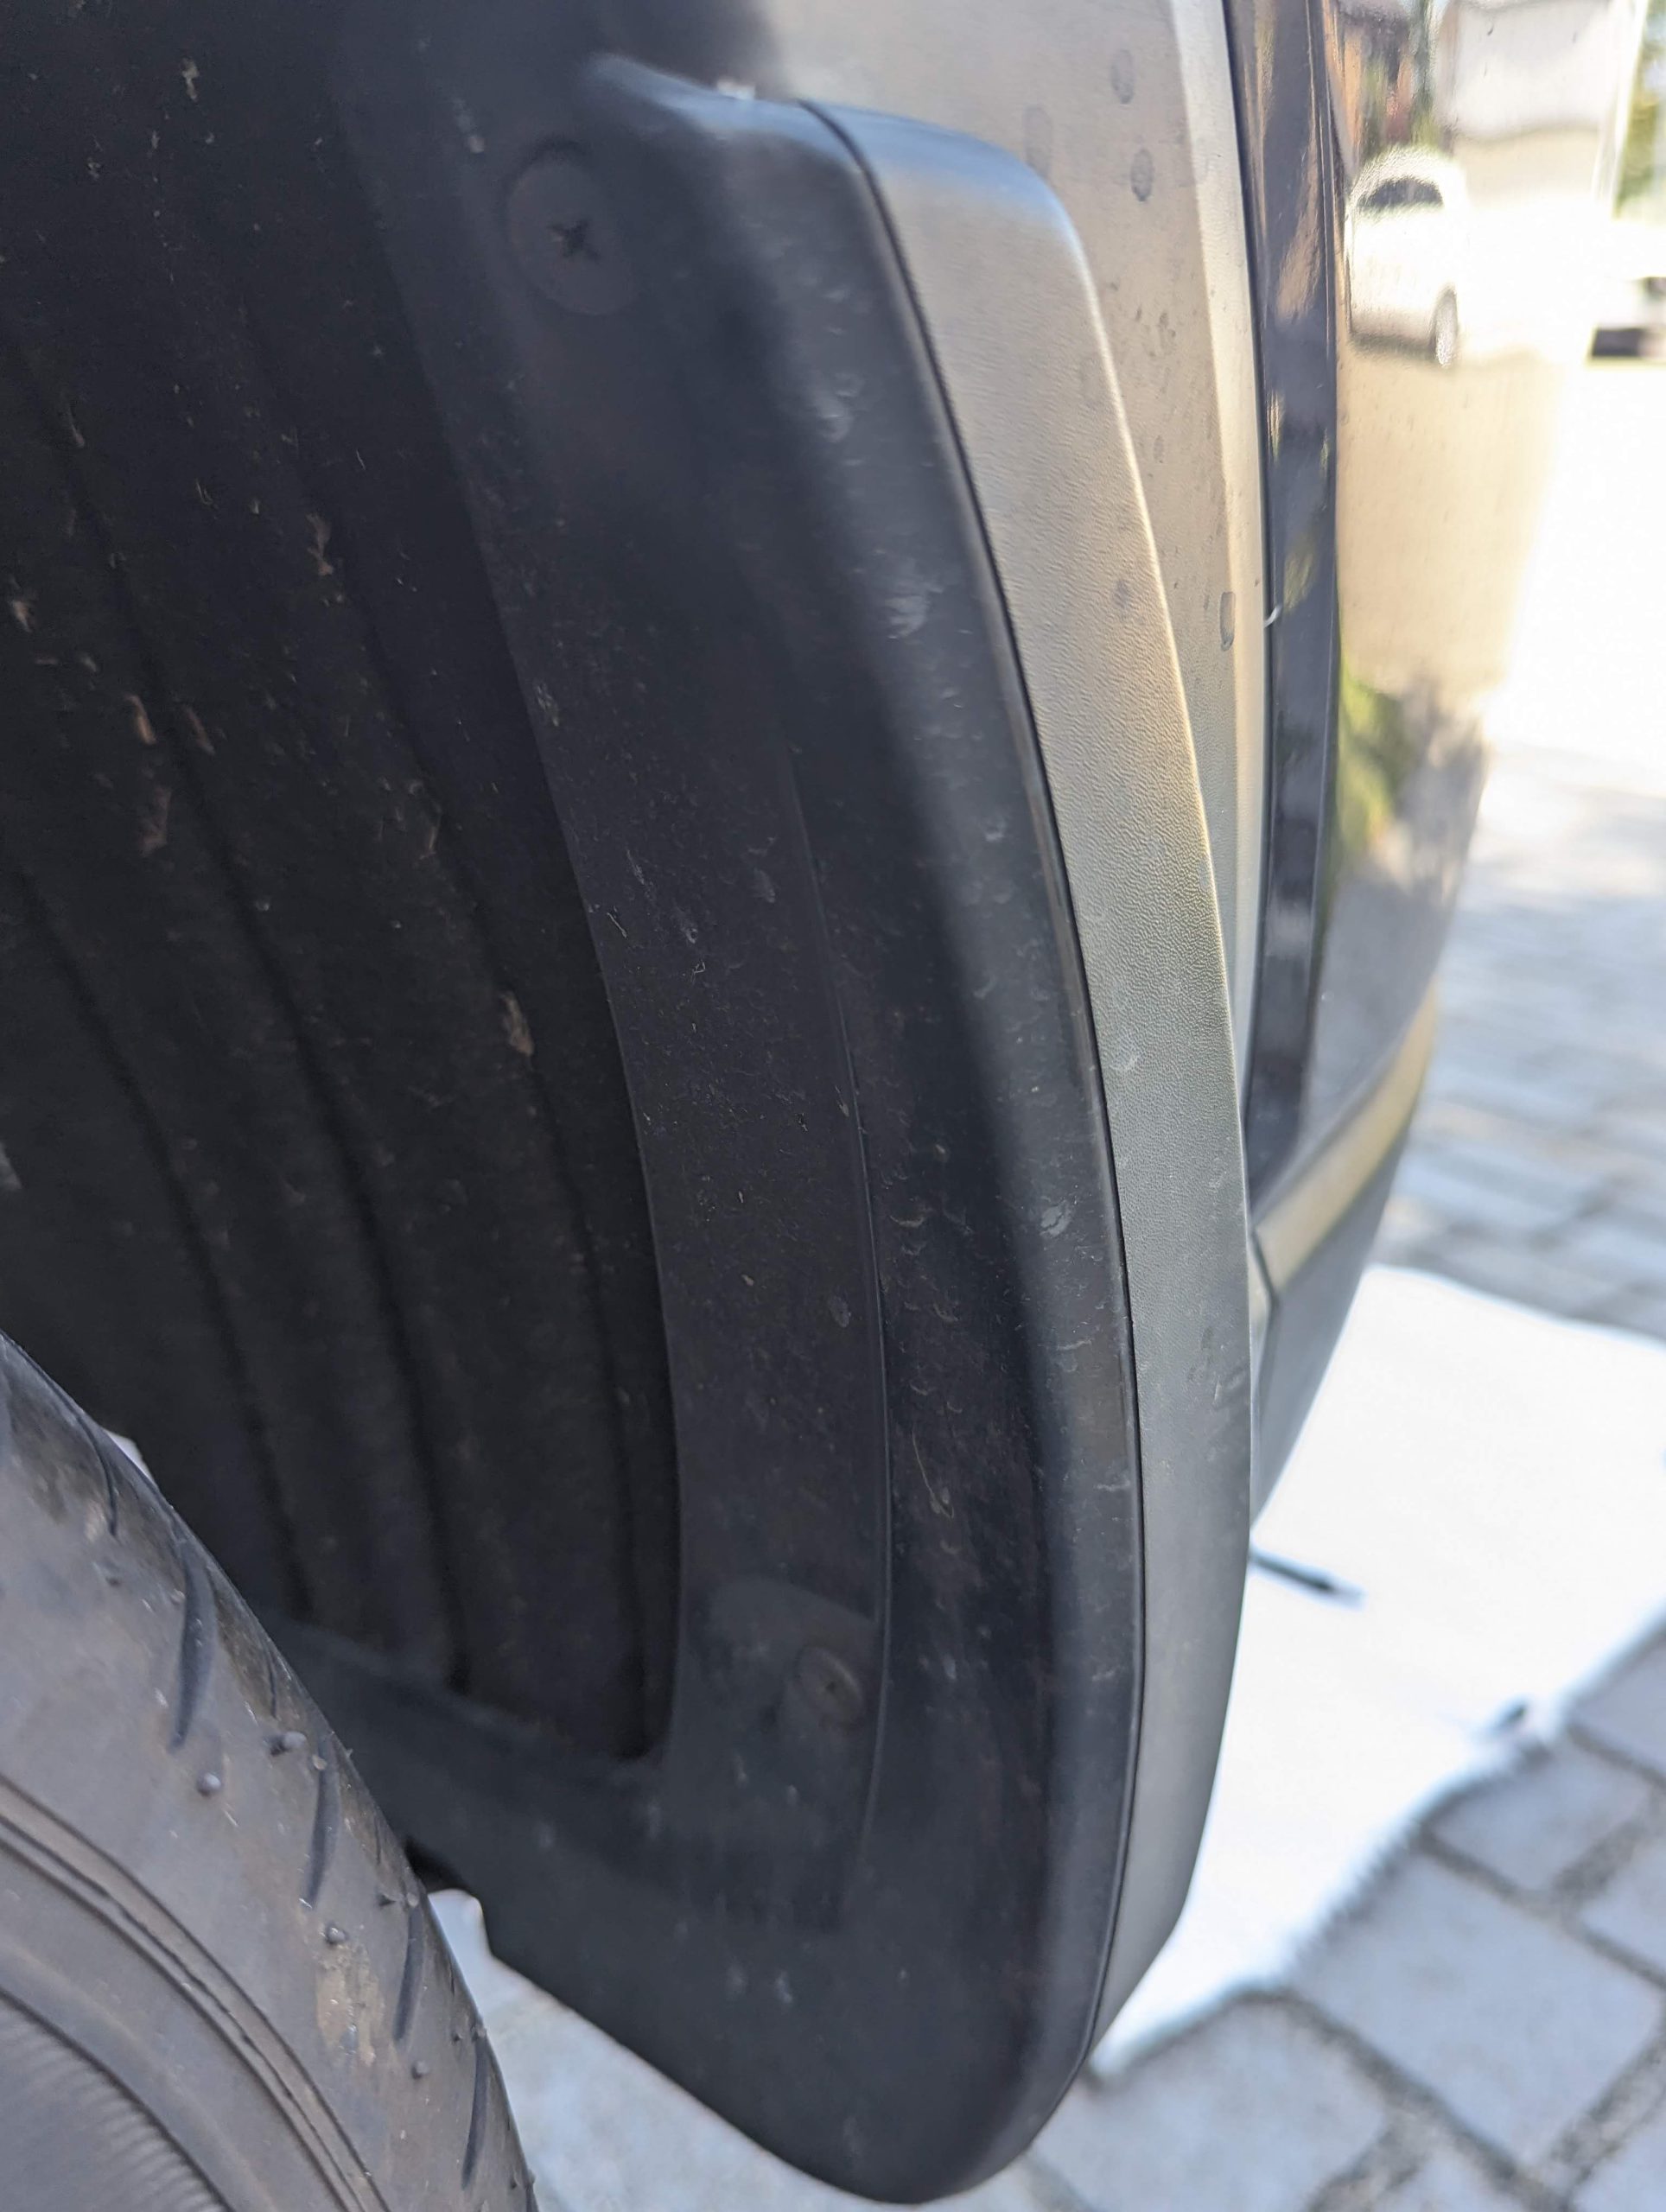
- Remove the 3 screws holding a small plastic moulding to the rear of the tyre arch
- Remove the undertray;
2.1 Remove 1 x 10 mm bolt
2.2 Remove 2 x screws holding the inner lining to the undertray
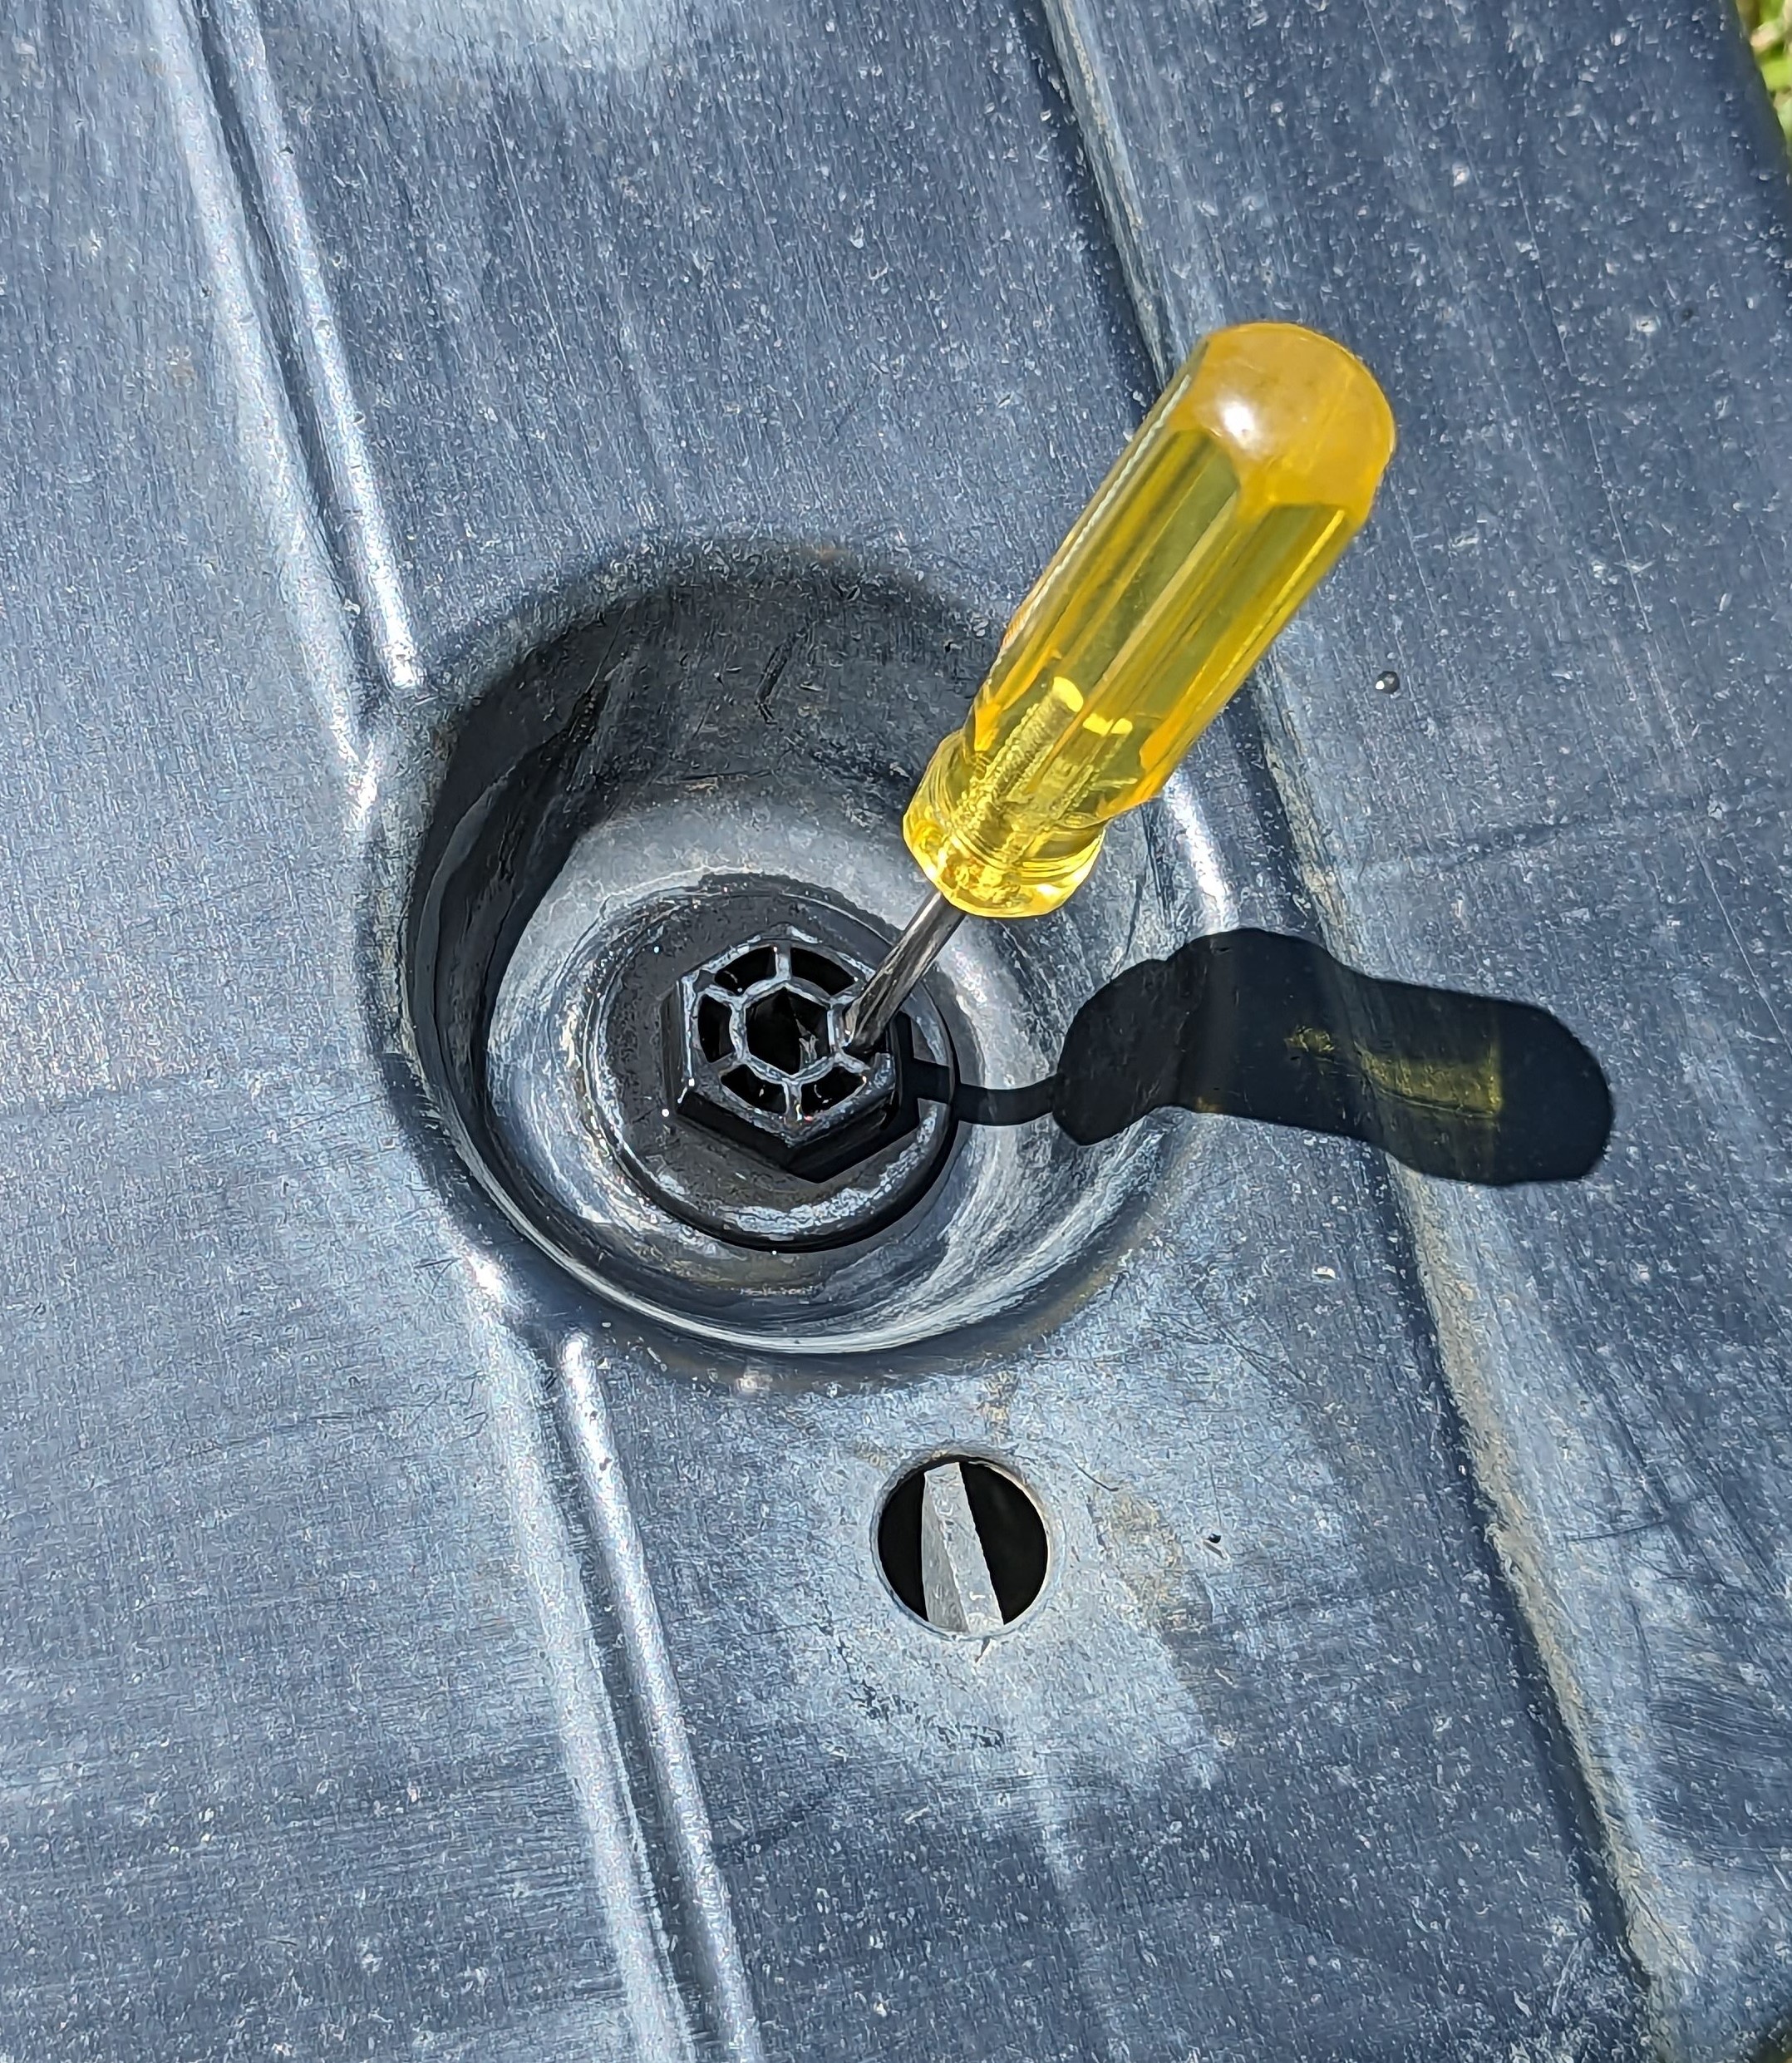
2.3 Remove the 4 x plastic bolts*
With the undertray removed you now have access to the drain pipe exit between the two outer panel and inner skins.
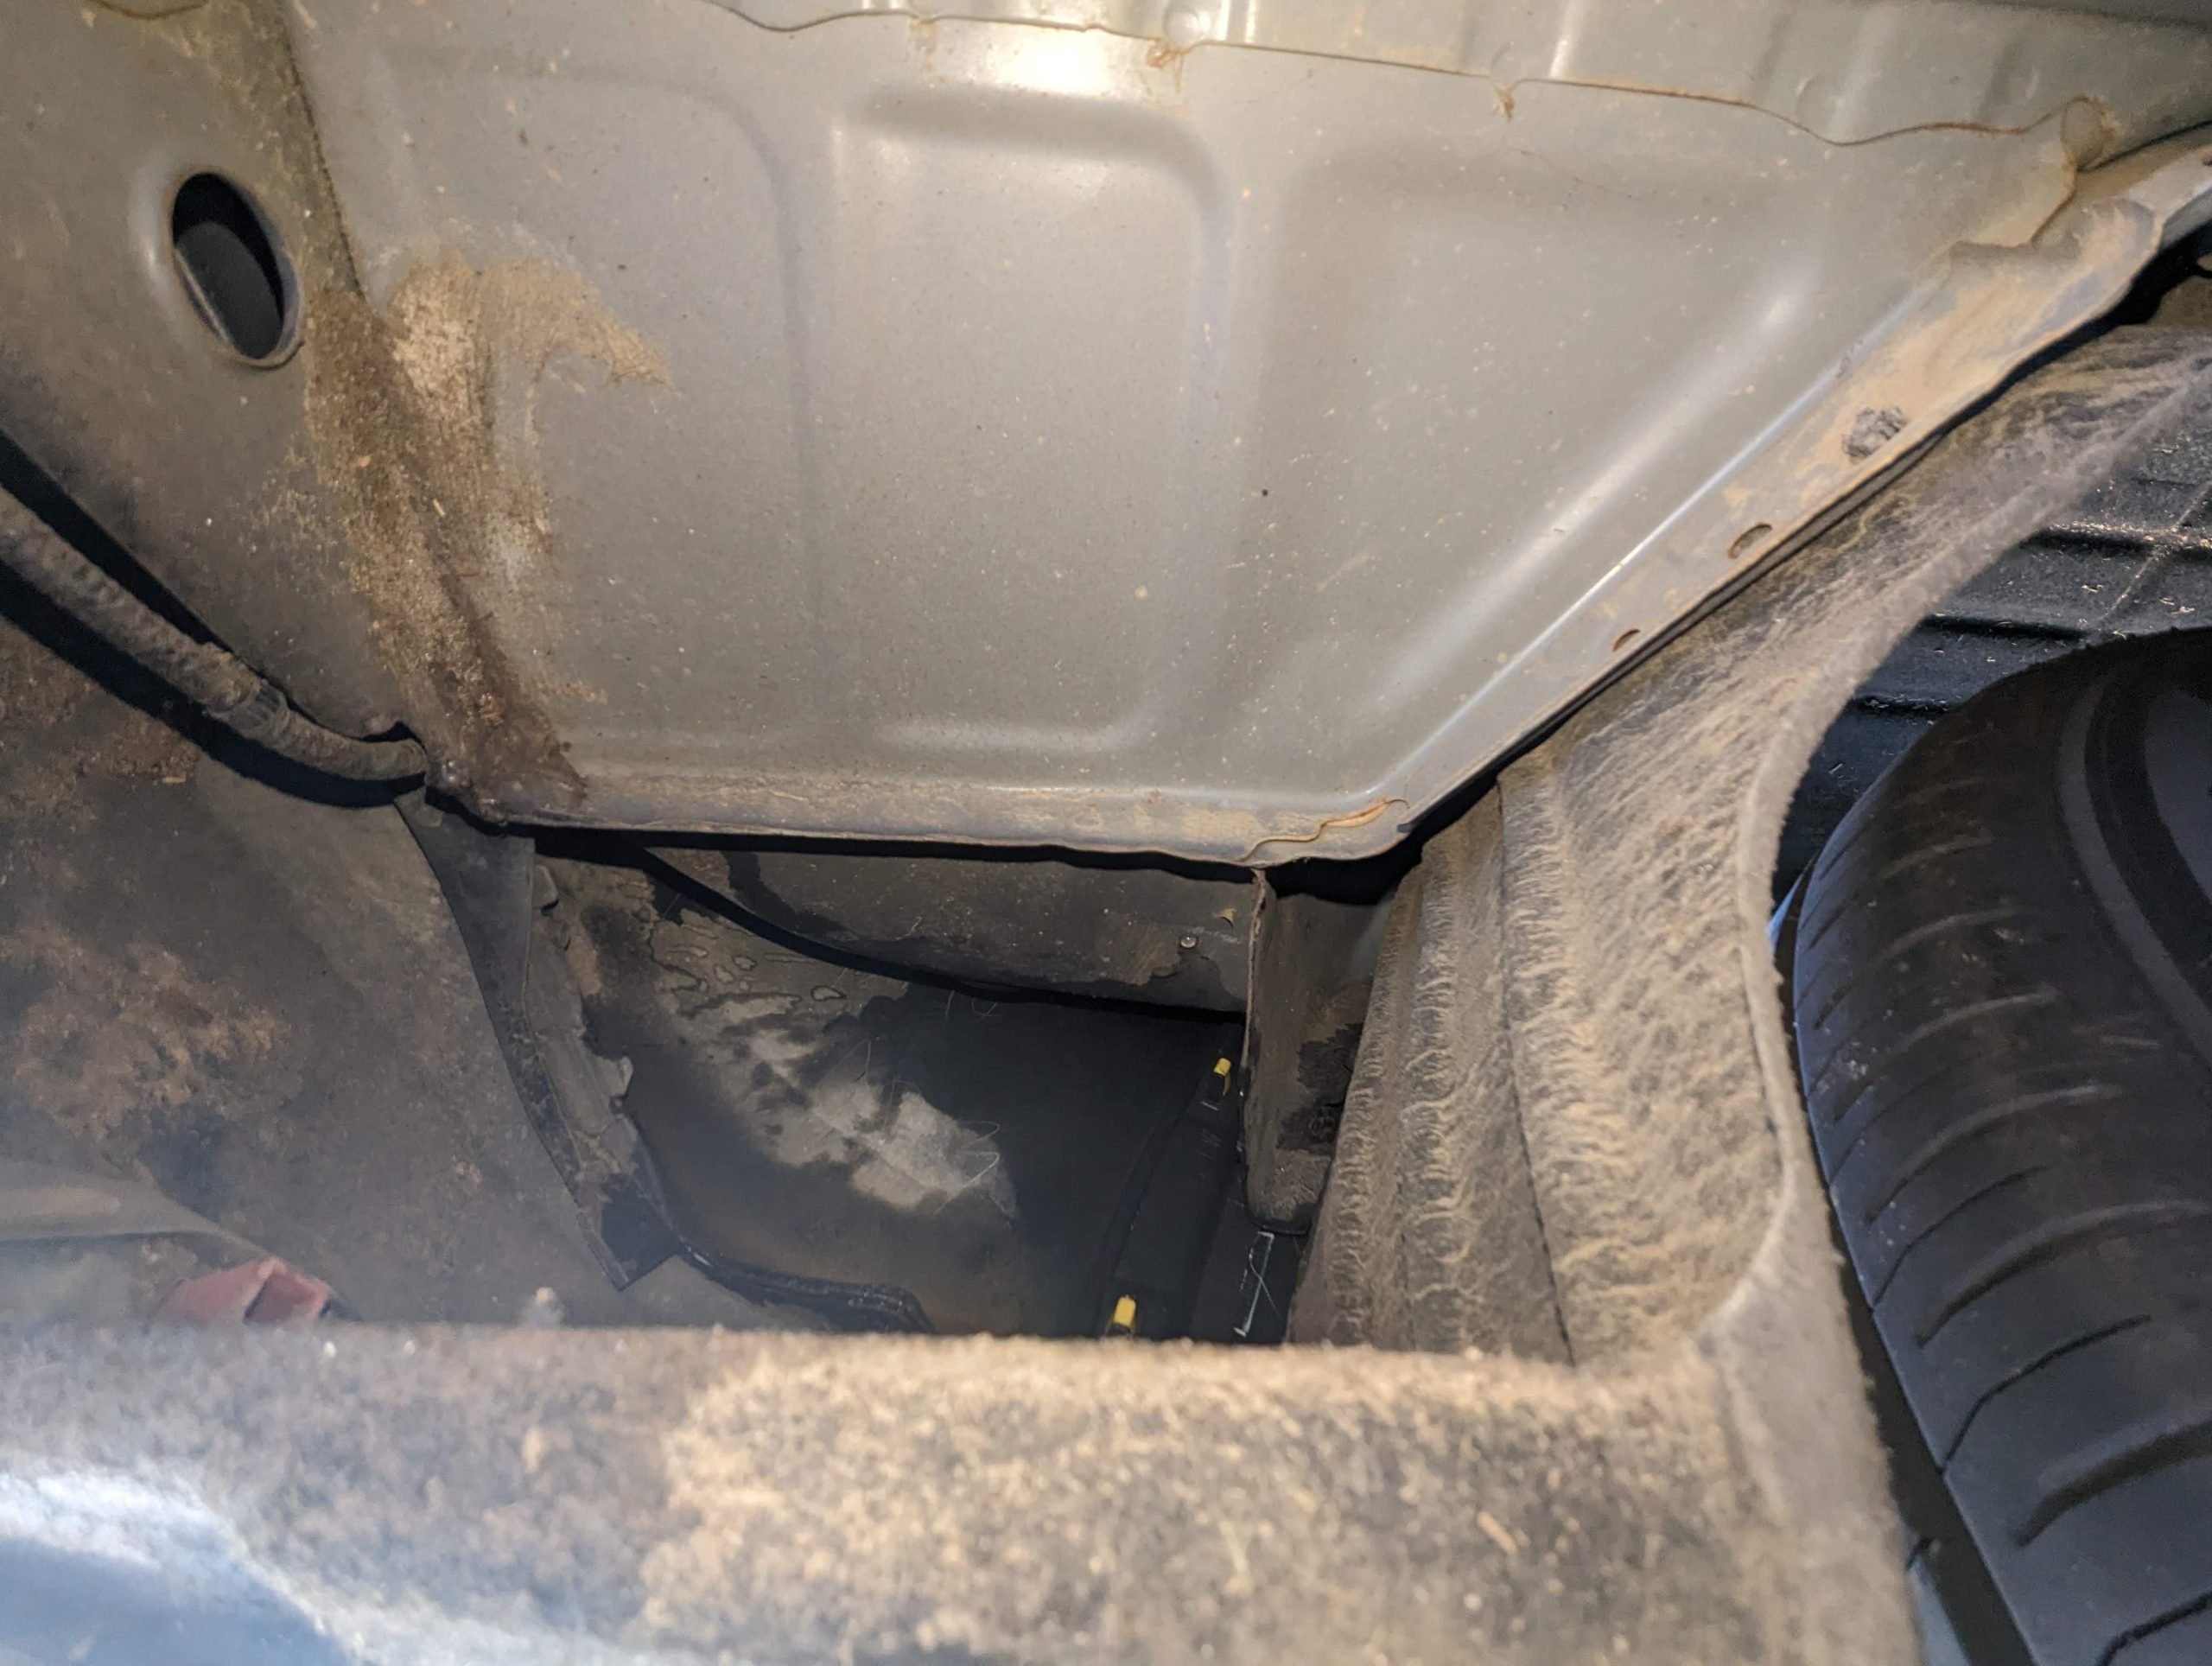
For me the drain was full of water, slowly leaking but full of water.
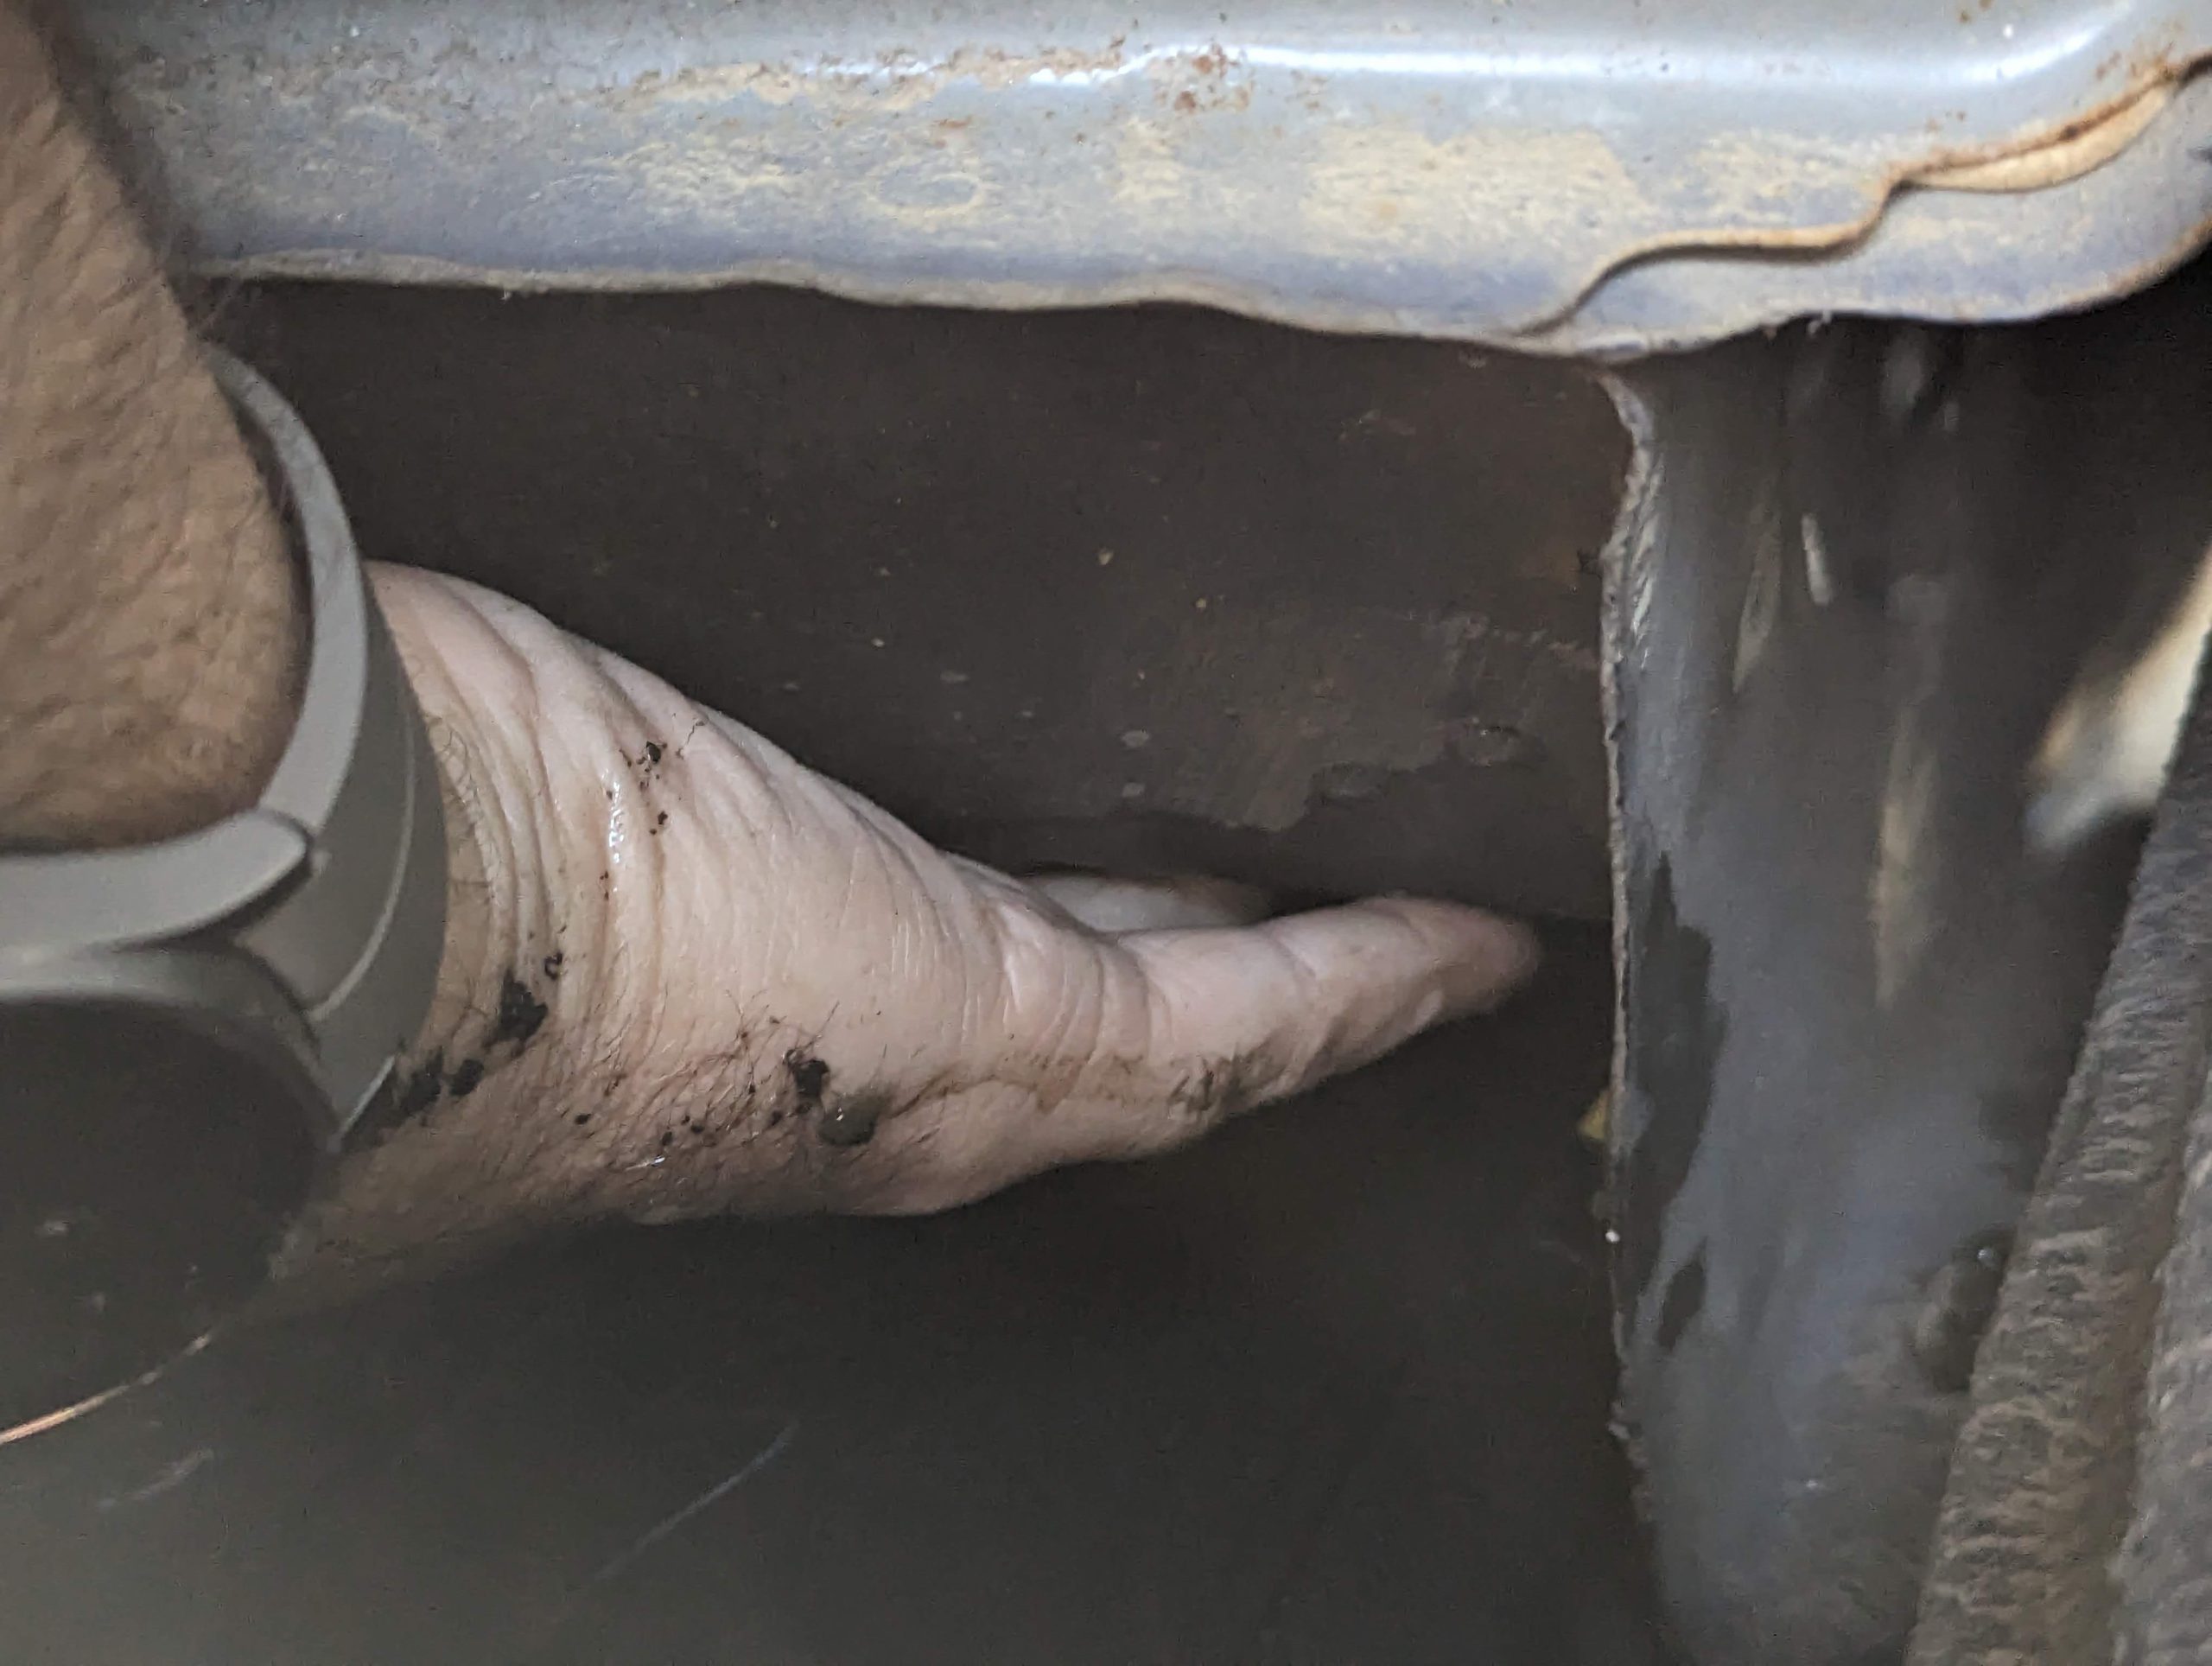
When I touched the rubber exit it cleared the blockage and water gushed out..
Blockage cleared.
* Removing the undertray
Removal of the undertray can be the hardest part of the process as the 4 plastic bolts can be difficult to remove if you don’t know how they work.
They are a push on fitting that are removed by unscrewing them. I used a small screwdriver inserted into the bolt and use that to rotate and unscrew the bolts. They sit in a plastic fitting that allows the bolts to stay semi attached to the undertray. Use a bit of downward pressure when attempting to unscrew them.
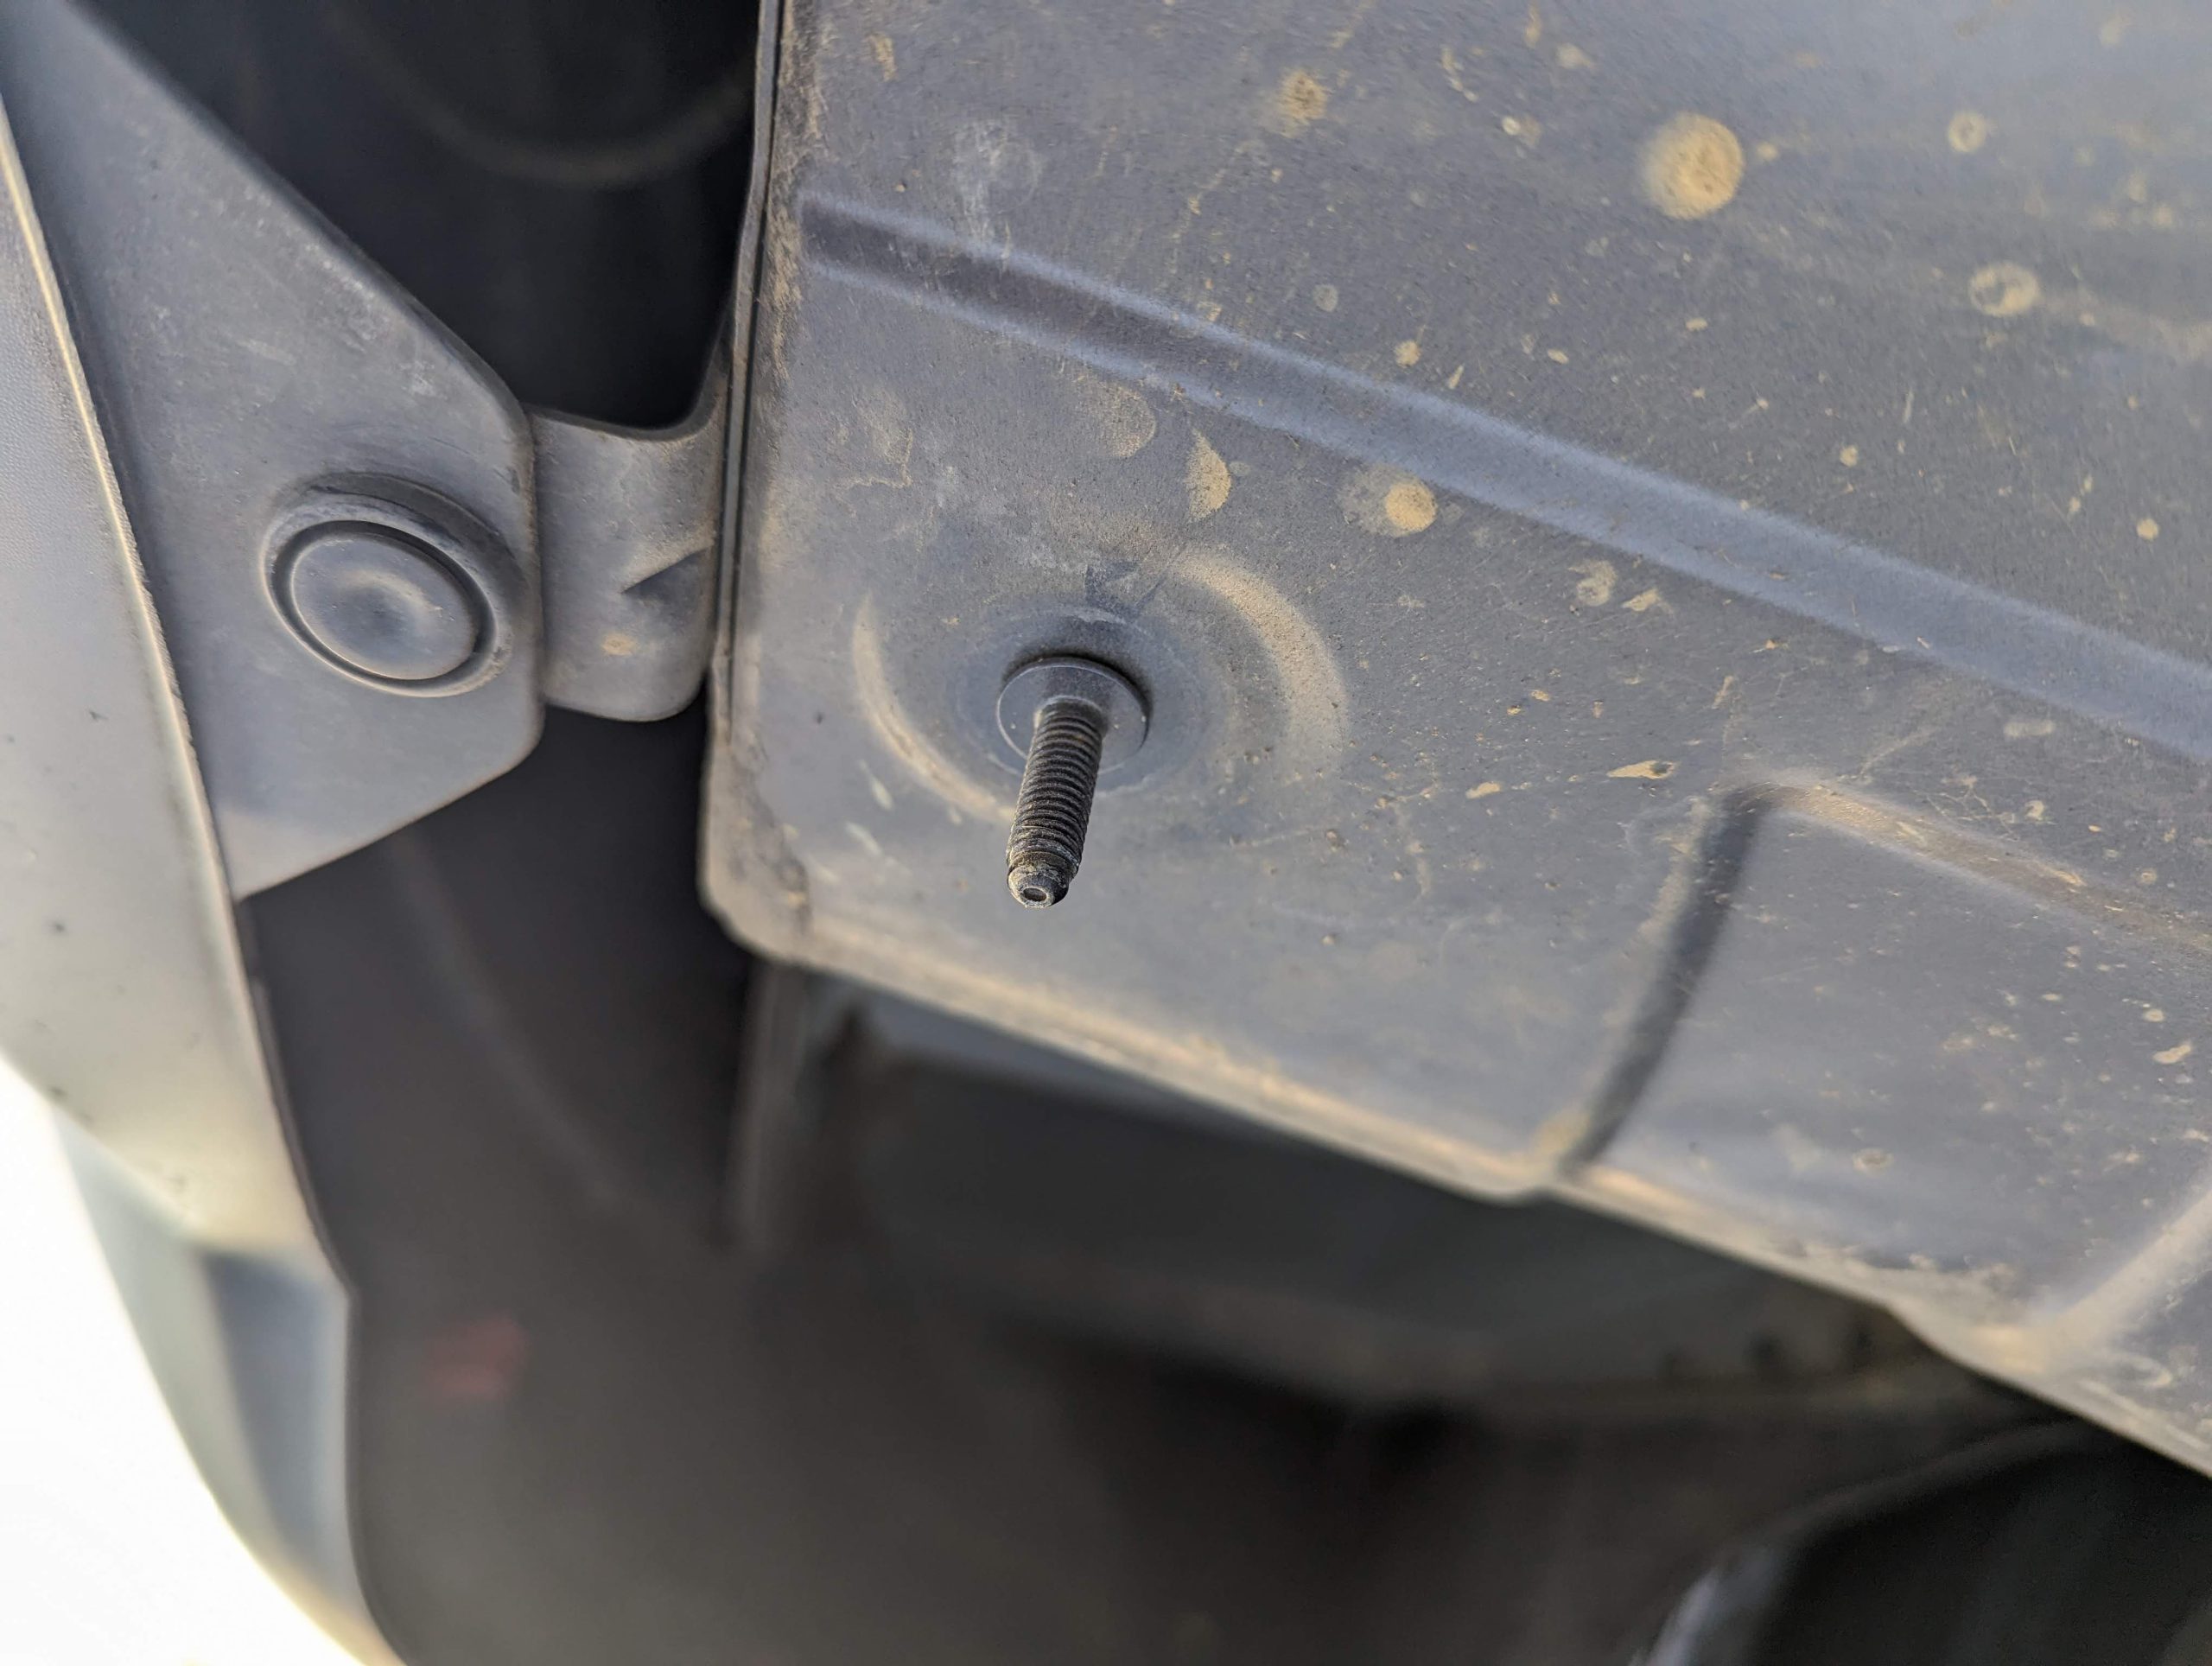
To put the undertray back on they are press fittings and the plastic bolts just push onto the screw posts.
Update – Jan-2025
So, since writing this article everything was going great, until last week, we noticed water.. again.. this time , the boot was wet, mainly on the drivers side, (right hand drive cars in Australia, so the right hand side of the car when in the car looking out the front window)
Diagnosing the problem this time, the water leak was coming from a different place, but the same problem. I will explain…
The HRV’s sunroof, has a moveable panel, which is motorised and slides back to let the wind in your hair.. and the back of the sunroof is a fixed panel.
All sunroofs leak, that is why the have the drain tubes. The rubber seal where the glass meets the metal roof is not a perfect seal and small amounts of water get past the seal, into the channels that are built to catch that water, and then feed that into the drain tubes and out of the car.
In this case to diagnose, I did the following.
- Parked the car on a slight uphill so the car is sloping to the rear.
- Put water in a small pouring jug, (the jug I use to froth my coffee milk, so it has a good pouring spout)
- Opened the sunroof partially as described in the article above
- Poured water into the main drainage channel
- No leak, the water seem to successfully drain out onto the ground
- Poured small amounts of water at different areas on the seal between the fixed sunroof panel and the sheet metal of the car.
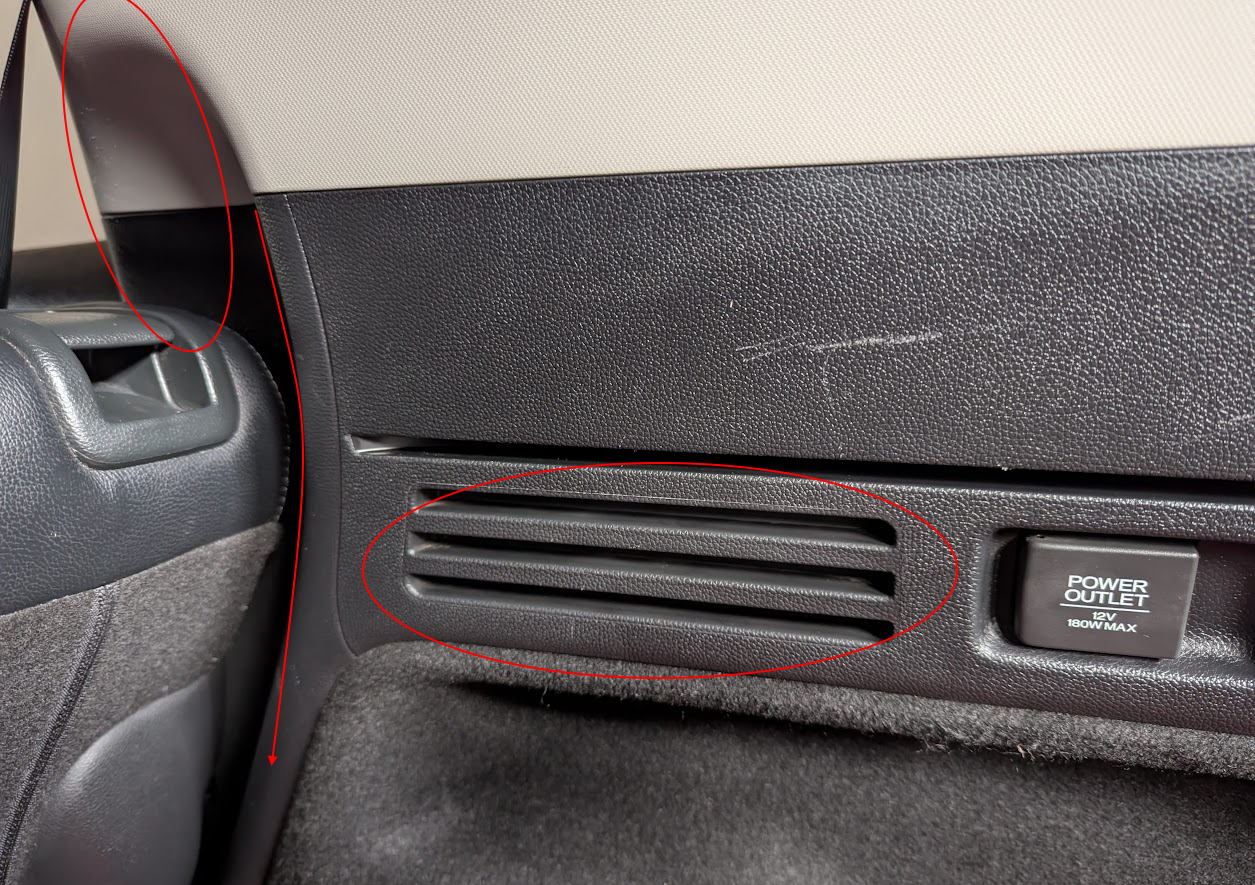
What you will notice is that in certain areas the water kind of sits on the seal and the flows across the roof, but in other parts when pouring at a slowish pace, the water would just disappear down between the seal and the roof. When that happened we got a stream of water, coming down from the top corner of the door seal area into the boot, and some even ran down the inside of the panels and streamed out the little plastic vents in the boot side wall above the rear shock mount.
All the bits marked in red below.. 🙁
So, the problem seemed to be different, but in the end the solution to fix was the same/similar.
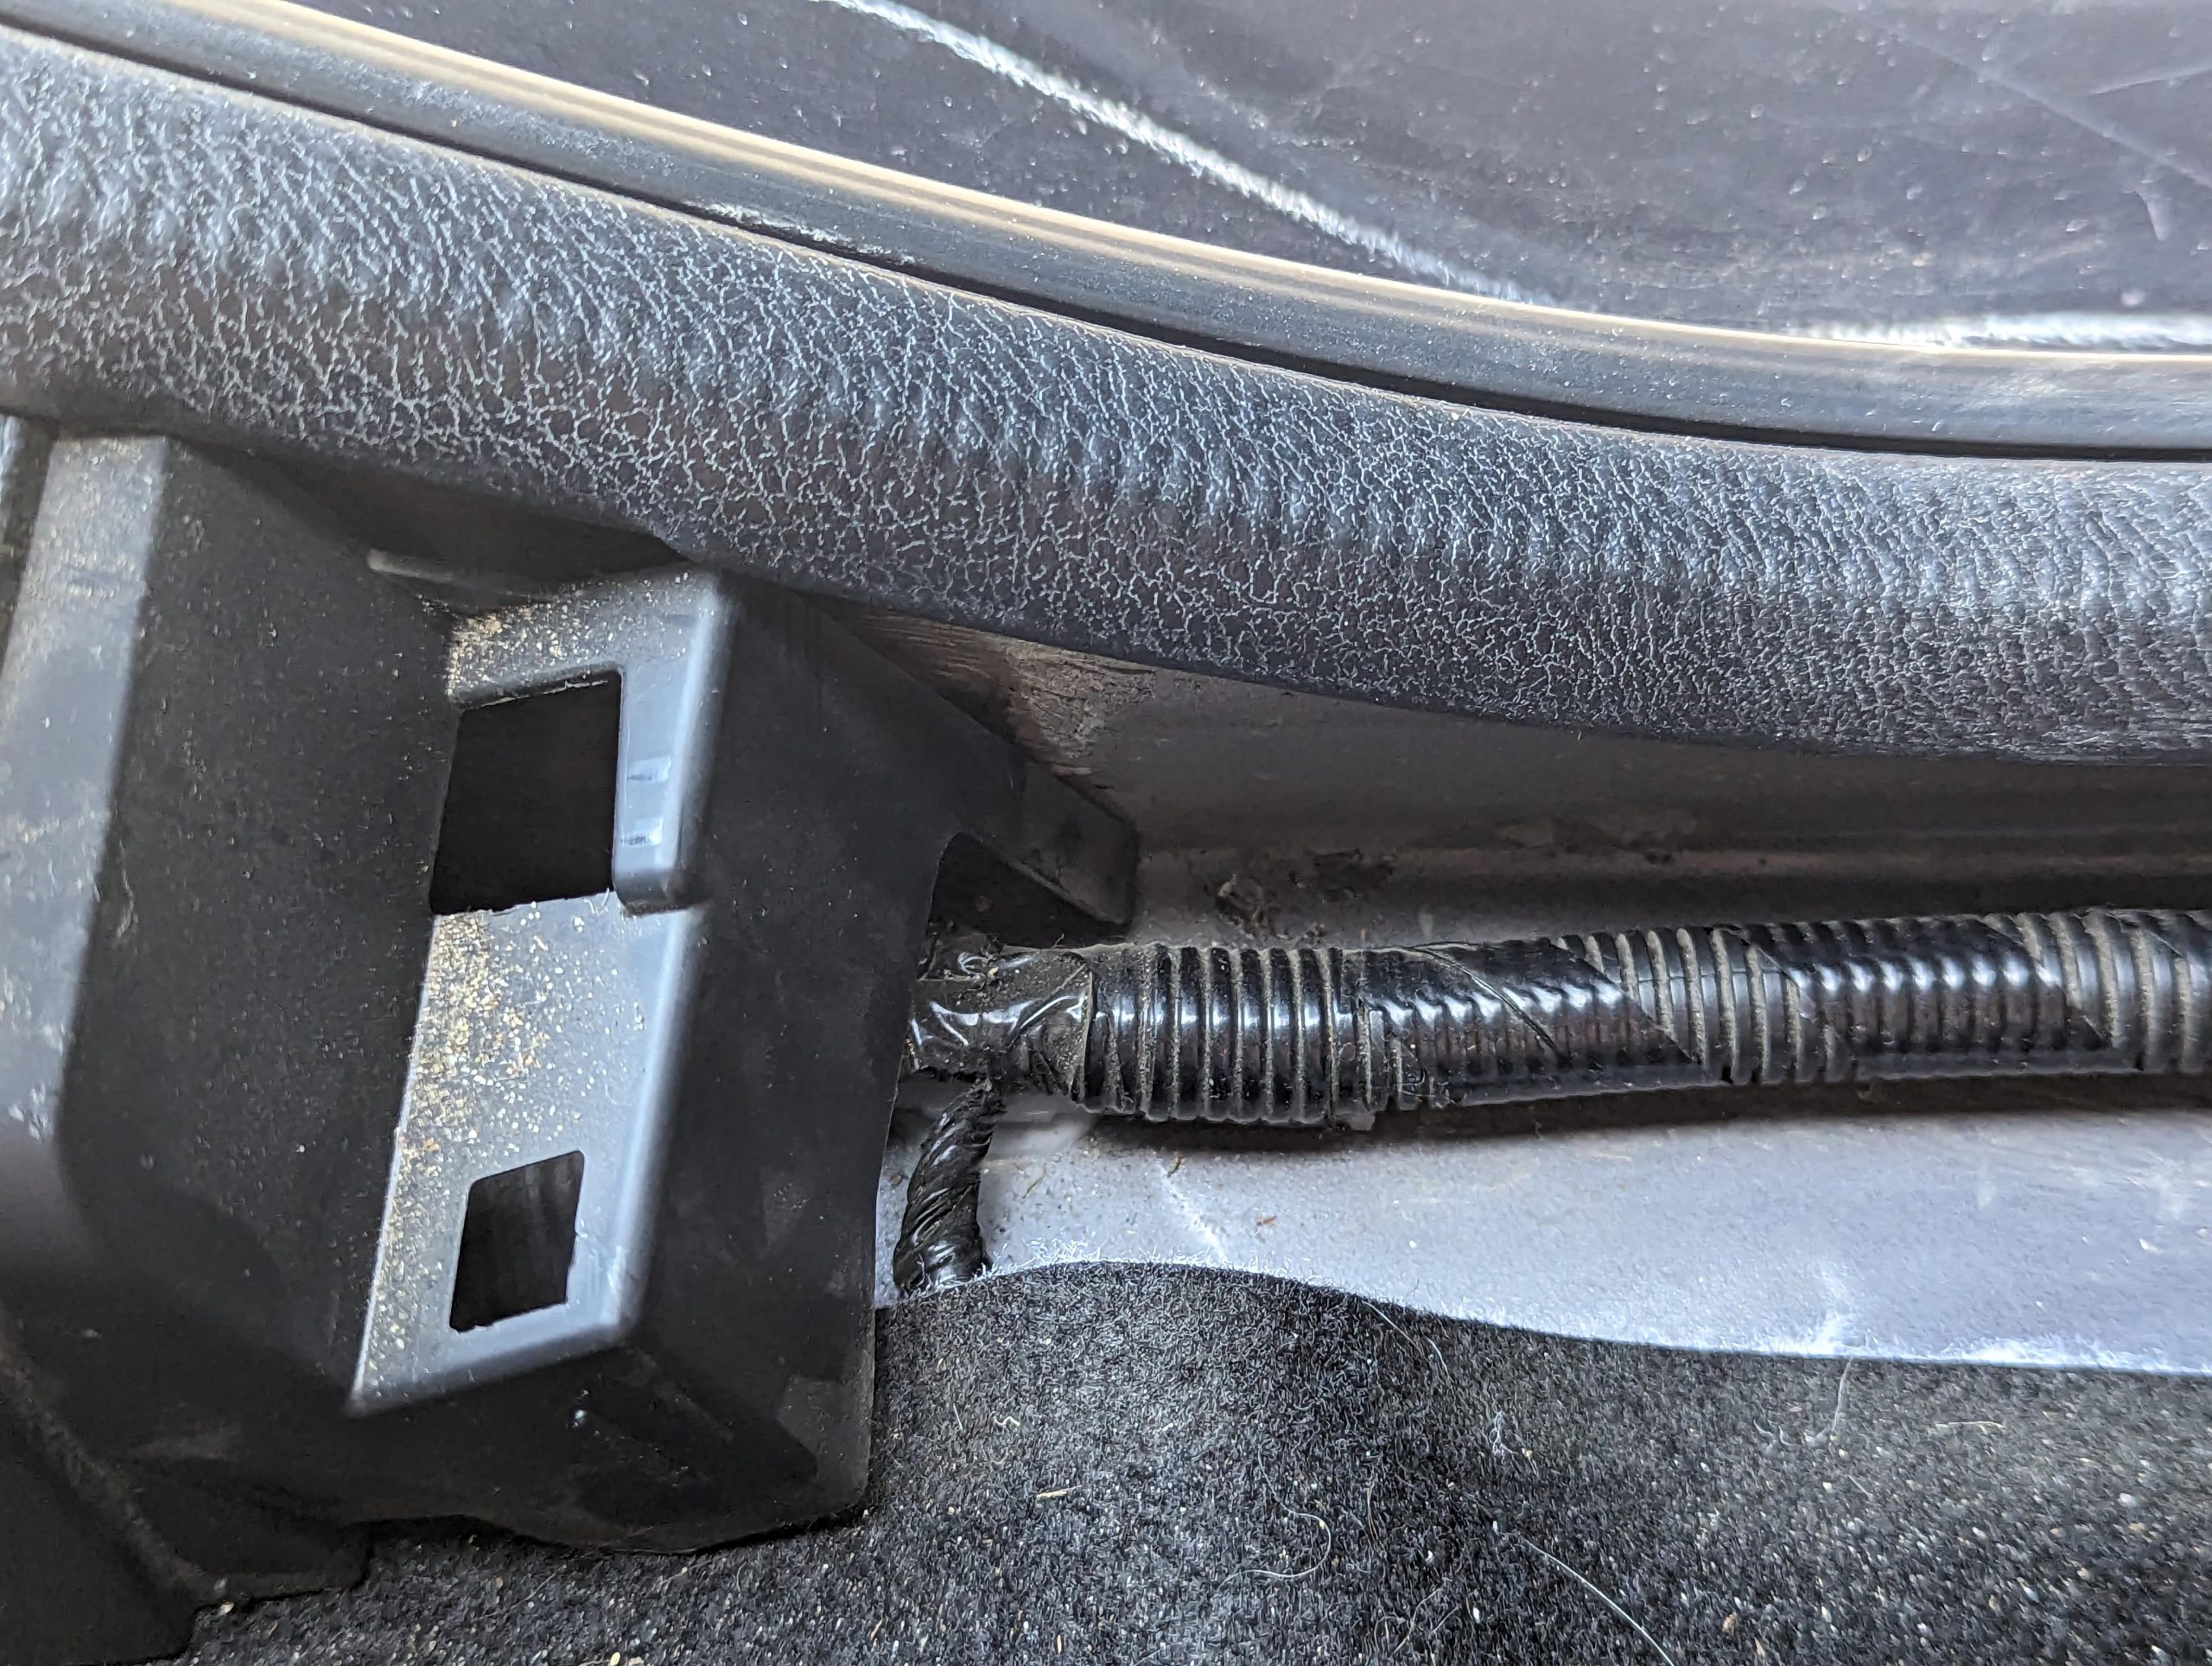
I did the trimmer line wire down the left and right rear drain tubes to make sure they were clear, but seeing as the water was NOT coming into the car from the standard side drain channel, I assumed there must be some kind of blockage in the rear drain stopping water from the middle rear of the car making it left and right and getting into the drainage tubes.
I suspect that somewhere behind the black protective plate the is some kind of blockage that is allowing the water to spill out over the channel and into the boot, the area highlighted stops easy access to that rear drain channel.
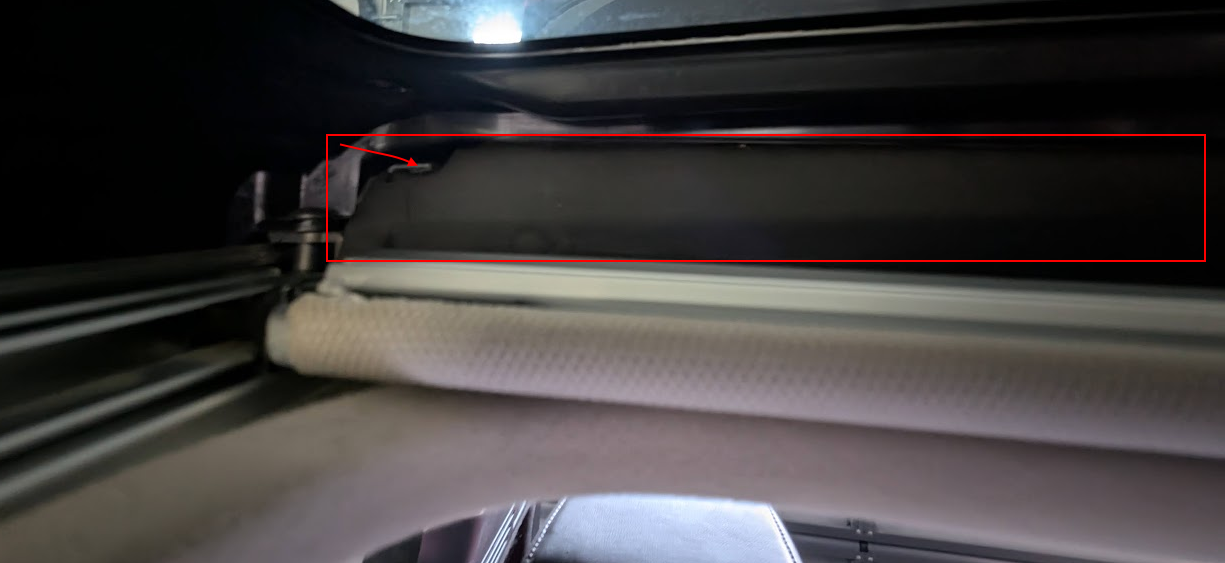
If I had compressed air then I would use compressed air to blow out the area behind this protective shield. I don’t so I improvised.
I have an air pump for blowing up mattresses and I have a tube that comes from a pest spay bottle that is a clear plastic tube about 6mm thick. see (https://www.mortein.com.au/products/powergard-professional-surface-spray/, or Better image here – https://www.kogan.com/au/buy/mortein-2l-power-grade-diy-surface-indooroutdoor-insect-killing-spray-killer-09300701083977/ see the clear tube)
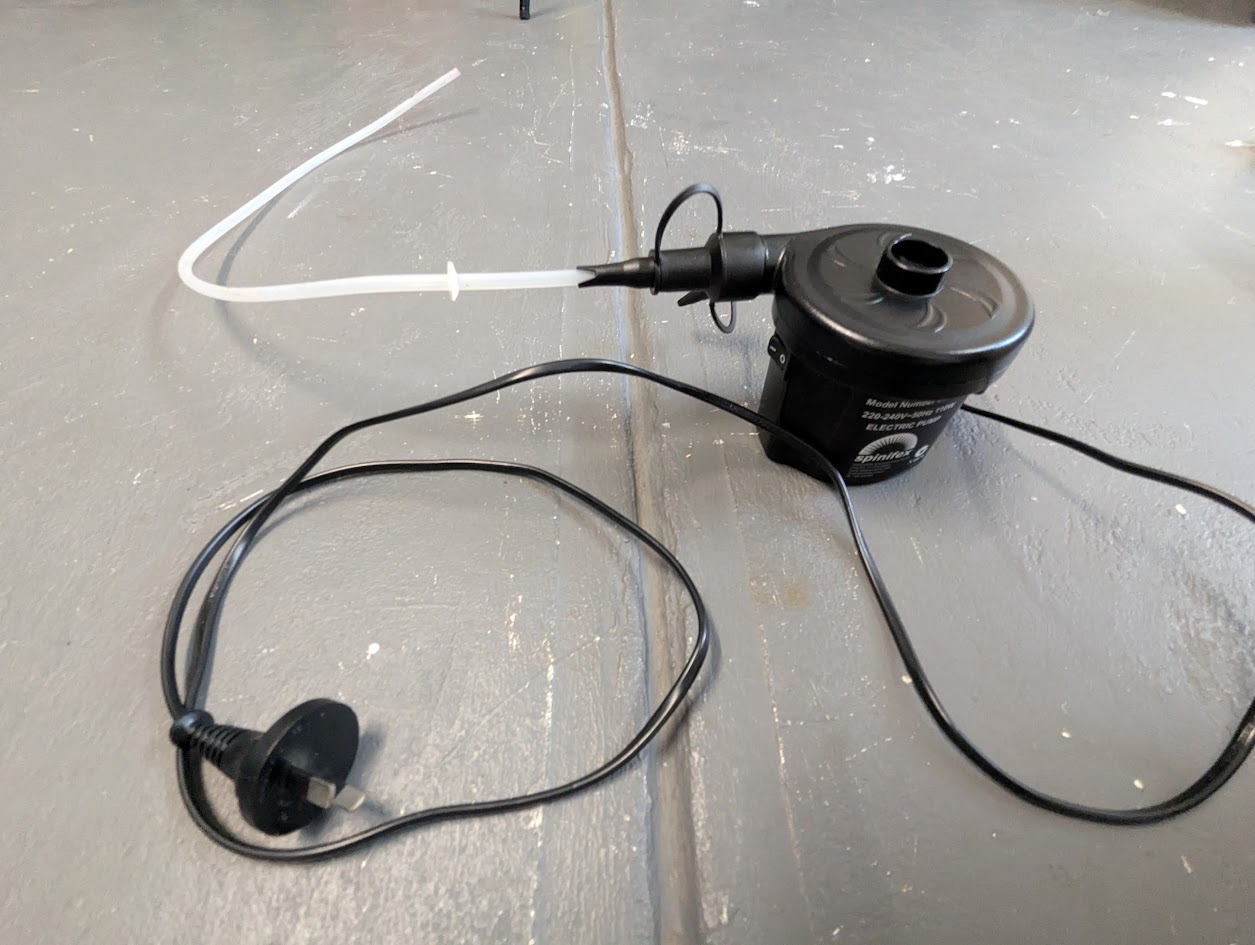
I used that clear tube, to insert down the drain tubes as per the trimmer line, and then use the mattress air blower to blow some air down there.
Then I twisted the tube into the area marked by the arrow and manage to push and wiggle the thick tube around in an attempt to dislodge any grit or blockage that may be back there, I also blew my slightly compressed mattress air around back there as well.
A re-test of the area, and all the water came out the drain tubes and not into the boot.
Problem solved.. until next time… 😐
Just wanted to say thanks – for your guide to solve this drain tube problem.
Actually it was ChatGPT that solved the problem using your guide together with this Youtube video :
https://www.youtube.com/watch?v=raZ3ZU23pnM
Best regards from Denmark